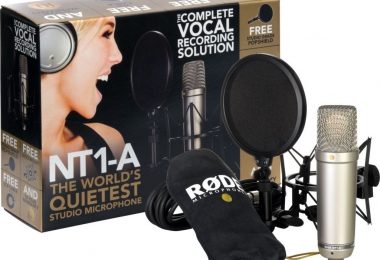

How to choose the right microphone for recording voice overs and all the supporting gear. Plus tips on recording professional quality voice over.

How to choose the right microphone for recording voice overs and all the supporting gear. Plus tips on recording professional quality voice over.
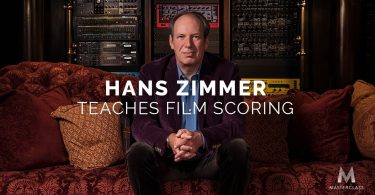
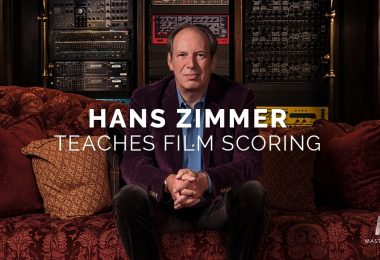
Why should film editors take legendary composer, Hans Zimmer's Film Scoring masterclass? What will you learn and is it worth the money? This post provides the answers and some valuable lessons too.
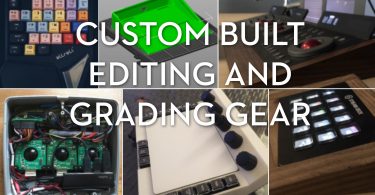
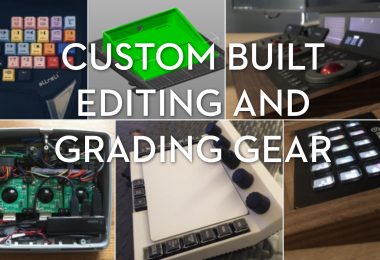
Enjoy building and customising your own video editing and colour grading gear? Check out this round up of the best custom controllers, cradles and more!
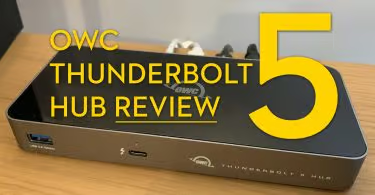
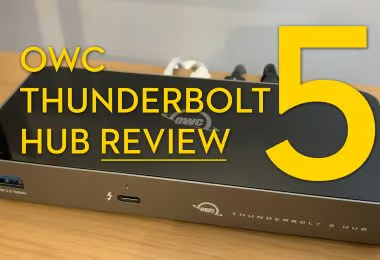
Is the OWC Thunderbolt 5 dock a sensible choice for film and video editors? With 3x Thunderbolt 5 80Gb/s speed ports, the answer is yes!
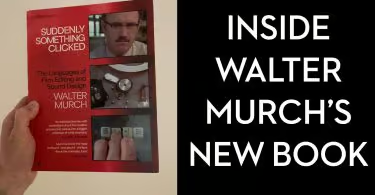
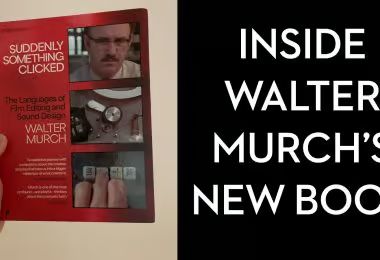
33 years after Walter Murch's book, In The Blink of an Eye, was published he's back with 2 new volumes...

You have to see Secret Mall Apartment. It's a crazy story. Then you need to learn how it was cut from two sides of the planet.
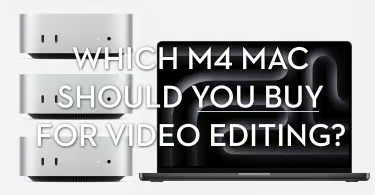
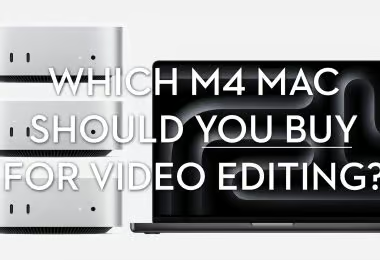
Which M4 Mac should video editors buy to deliver great value performance that will last? After exhaustive research, here's what I've discovered...
The Walter Murch-opedia Film Editor Walter Murch is a legendary figure within the annals of film editing’s 130+ year history. I think Walter’s legendary status comes in part due to his...
Artlist.io has some great new features to explore, but do you know what they are? Make the most of your Artlist subscription with these tips!
What are the best Christmas Gifts for Film Editors in 2024? These are... I hope you've been good this year!