Feature Film Workflows

There is a certain feeling of trepidation that is experienced in the heart of every editor when they take on a project that is bigger and more complex than anything they’ve edited before. I can only assume that editing your first feature film feels that way.
So much to do, so much to get right from the get-go and so many people counting on you not messing it up. But as with anything, you just have to make a plan and jump in. In this post I’ve gathered together some fantastically detailed, some might say laboriously so, resources to aide any editor cutting their first feature film.
Before we get into the NLE specific workflows listed below, it’s worth pointing everyone in the direction of Assistant/Editor Evan Schiff’s blog, which has a huge list of very detailed posts on the jobs he tackles working on films like Mission Impossible and Star Trek Into Darkness. In this case I want to specifically point out his excellent guide to handling ‘Turnovers’, which is a must read for anyone wanting to be an assistant editor or editor.
Once you do this a few times it’ll become an easy and predictable task. The first time you do it, it may be a little intimidating, and you may have lots of questions that even the people you need to turn over to can’t answer. To help, always think of what your turnover recipients are going to do with your materials once you hand them off. What’s most useful for them? What would get in the way if it was done wrong? Putting yourself in their shoes can help you answer a lot of questions on your own.
It’s also worth read this post on editing features, partly from a craft perspective, and partly to hear a few more ‘stories’ from those who have gone before us.
Avid Feature Film Workflow

Being the ‘industry standard’ NLE for editing long form, multi-editor broadcast and feature film work, Avid Media Composer is the software you need to know if you want to edit at the highest levels of broadcast and film work today.
Editor Steve Hullfish has been conducting some excellent and exceptionally detailed interviews with feature film editors working in Avid, the best of which you can check out here and here. In an epic three-part series Steve broke down in ultra-fine detail his own feature film editing process when working in Avid Media Composer for the film War Room.

In the first part of the series Steve dissects the production process, his collaboration with DIT Ben Bailey and their RED Epic workflow. He also describes the exact steps given to the assistant editor to prep all the rushes in an Avid project. Steve also covers how he and director and co-editor Alex Kendrick worked together to hone the film from first assembly to final cut. If you were cutting a feature in Avid for the first time you could basically use this series as a guide to replicating the workflow, bit-for-bit, for yourself, it’s that detailed.
Originally, Ben and I discussed transcoding to DNxHD36, and I chose this as the resolution we’d work in. This seemed like a good choice, because it creates a file that looks quite good even though it is very “light-weight” and small, making it easy to store and easy to process by the computer. Ben transcoded the first several days at DNxHD36 before I decided that I wanted to have a higher quality video file for audience screenings without having to up-rez all of the RED files again just to do a higher quality screening before the final DI was created. After switching the subsequent footage to DNxHD115, Ben went back and re-transcoded all of the first few days to DNxHD115 as well. In the end we were able to just barely fit all of the transcoded DNxHD115 files on a single 4TB drive. When we started having additional media and renders, we moved to storing media on a RAID after we finished active production.

In Part 2, Steve details the process he undertook to deliver the film to Roush Media for it’s grade, VFX work and creation of theatrical deliverables. The grade was performed on the Nucoda grading system and it’s interesting to note that the final credits were created in Endcrawl. Again, Steve doesn’t hold back on the details and that’s what makes for such great reading!
While Roush has access to Resolve as well, he’s quite the advocate for the abilities of the Nucoda system. “Every tool is a great tool, explained Roush, “This film could have easily been graded in Resolve just as well. To me, personally, Nucoda is focused much more for the colorist than anything else out there. I grade on both here. There’s a lot of great workflow things in the Resolve system that can’t be beat and it’s a very powerful tool. The horsepower behind it can do a lot of powerful things, but the Nucoda to me has many, many brushes and many tools in my toolbox that have yet to appear in something like Resolve, so it allows me to grade faster with more control. It’s really the talent that matters, not ultimately the tools.

In Part 3 you can read all about the sound side of things and Steve covers his audio editing process and turning over to the sound department for the sound design and final mix. Articles like these are such a valuable resources and it’s fantastic that Steve has put so much time into sharing his experiences.
With my deliverables to the sound team ready, Nick Palladino took over once he received the hard drive with the audio files. Nick worked on a Pro Tools HD system with a Blackmagic card to feed video to the projector.
“We start with the AAF of the locked picture.” Nick explains, “I’ve done the last four films with the Kendrick Brothers and over the last ten years the digital technology has really changed. We start out by going though all of the dialogue tracks and we pick between the wireless lavs, the booms and any ADR and we make a smooth dialogue track, where it’s all been de-noised. Then we come back and put all of the sound effects in and all the backgrounds, all the footsteps. The music was then delivered to us by composer Paul Mills. We start with the temp music, which is what (the editors) used during editing, and we replace those tracks with the final score.”
It’s interesting to note that Steve considered Premiere for War Room, and is actually cutting on his next project in it.
War Room Feature Film Workflow Part 1 | War Room Feature Film Workflow Part 2 | War Room Feature Film Workflow Part 3
Premiere Pro Feature Film Workflow
David Fincher’s Gone Girl was the first film to really push Premiere Pro into the spotlight as a Hollywood feature ready NLE. Not that it wasn’t ready, you can cut a feature on iMovie if you want, but Fincher is Fincher and that gets people talking. It’s interesting to note that Walter Murch has been editing in Premiere and the Coen Brother’s next film Hail Caesar! was also cut on it.
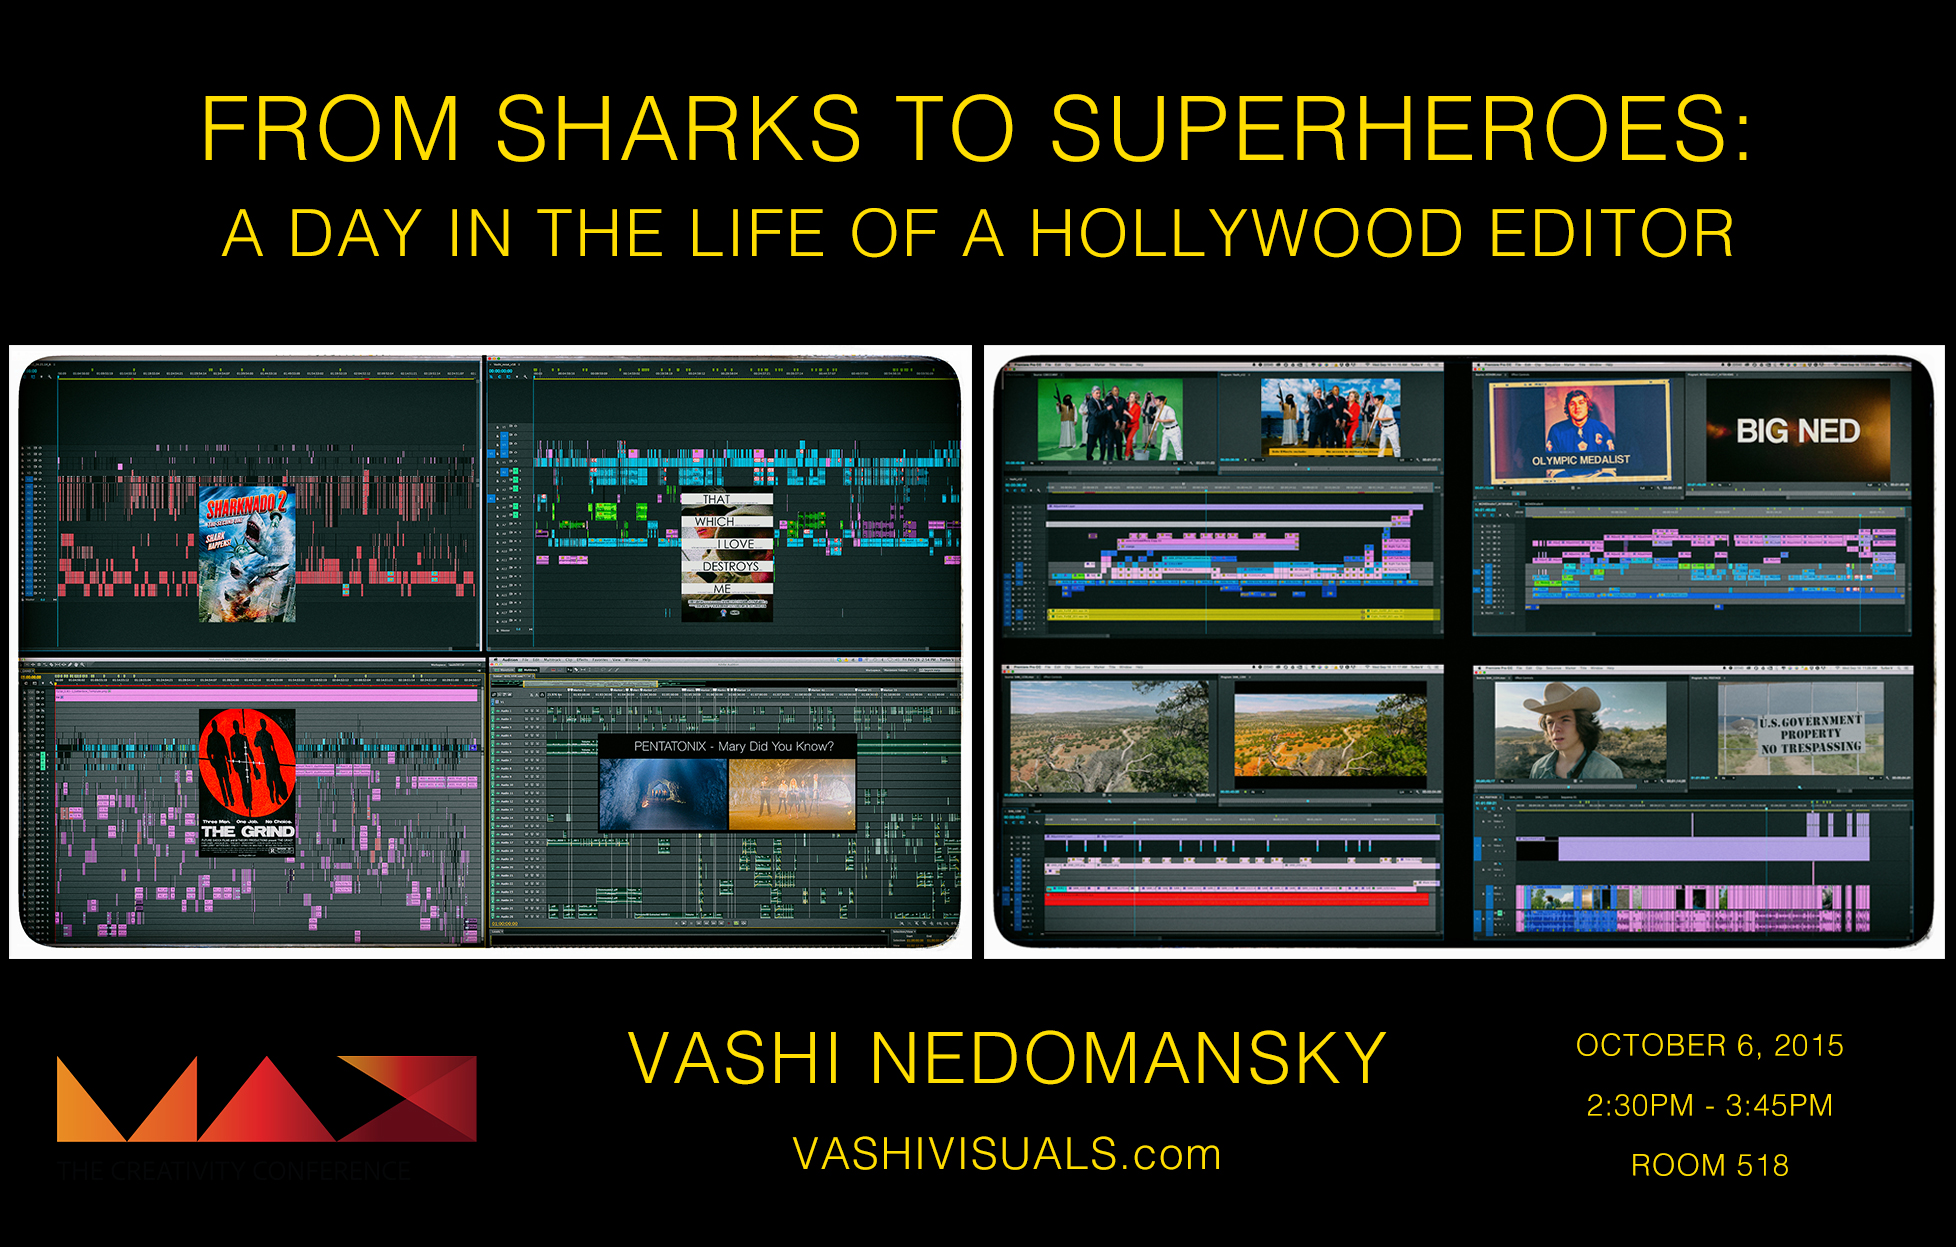
In terms of learning more about a Premiere Pro feature film workflow, first of all I would highly recommend checking out Vashi Nedomansky’s Adobe Max 2015 presentation on The Life of a Hollywood Editor, in which he talks through his experience as an editor in Hollywood, as well as his Premiere Pro workflow for cutting films like Sharknado 2.
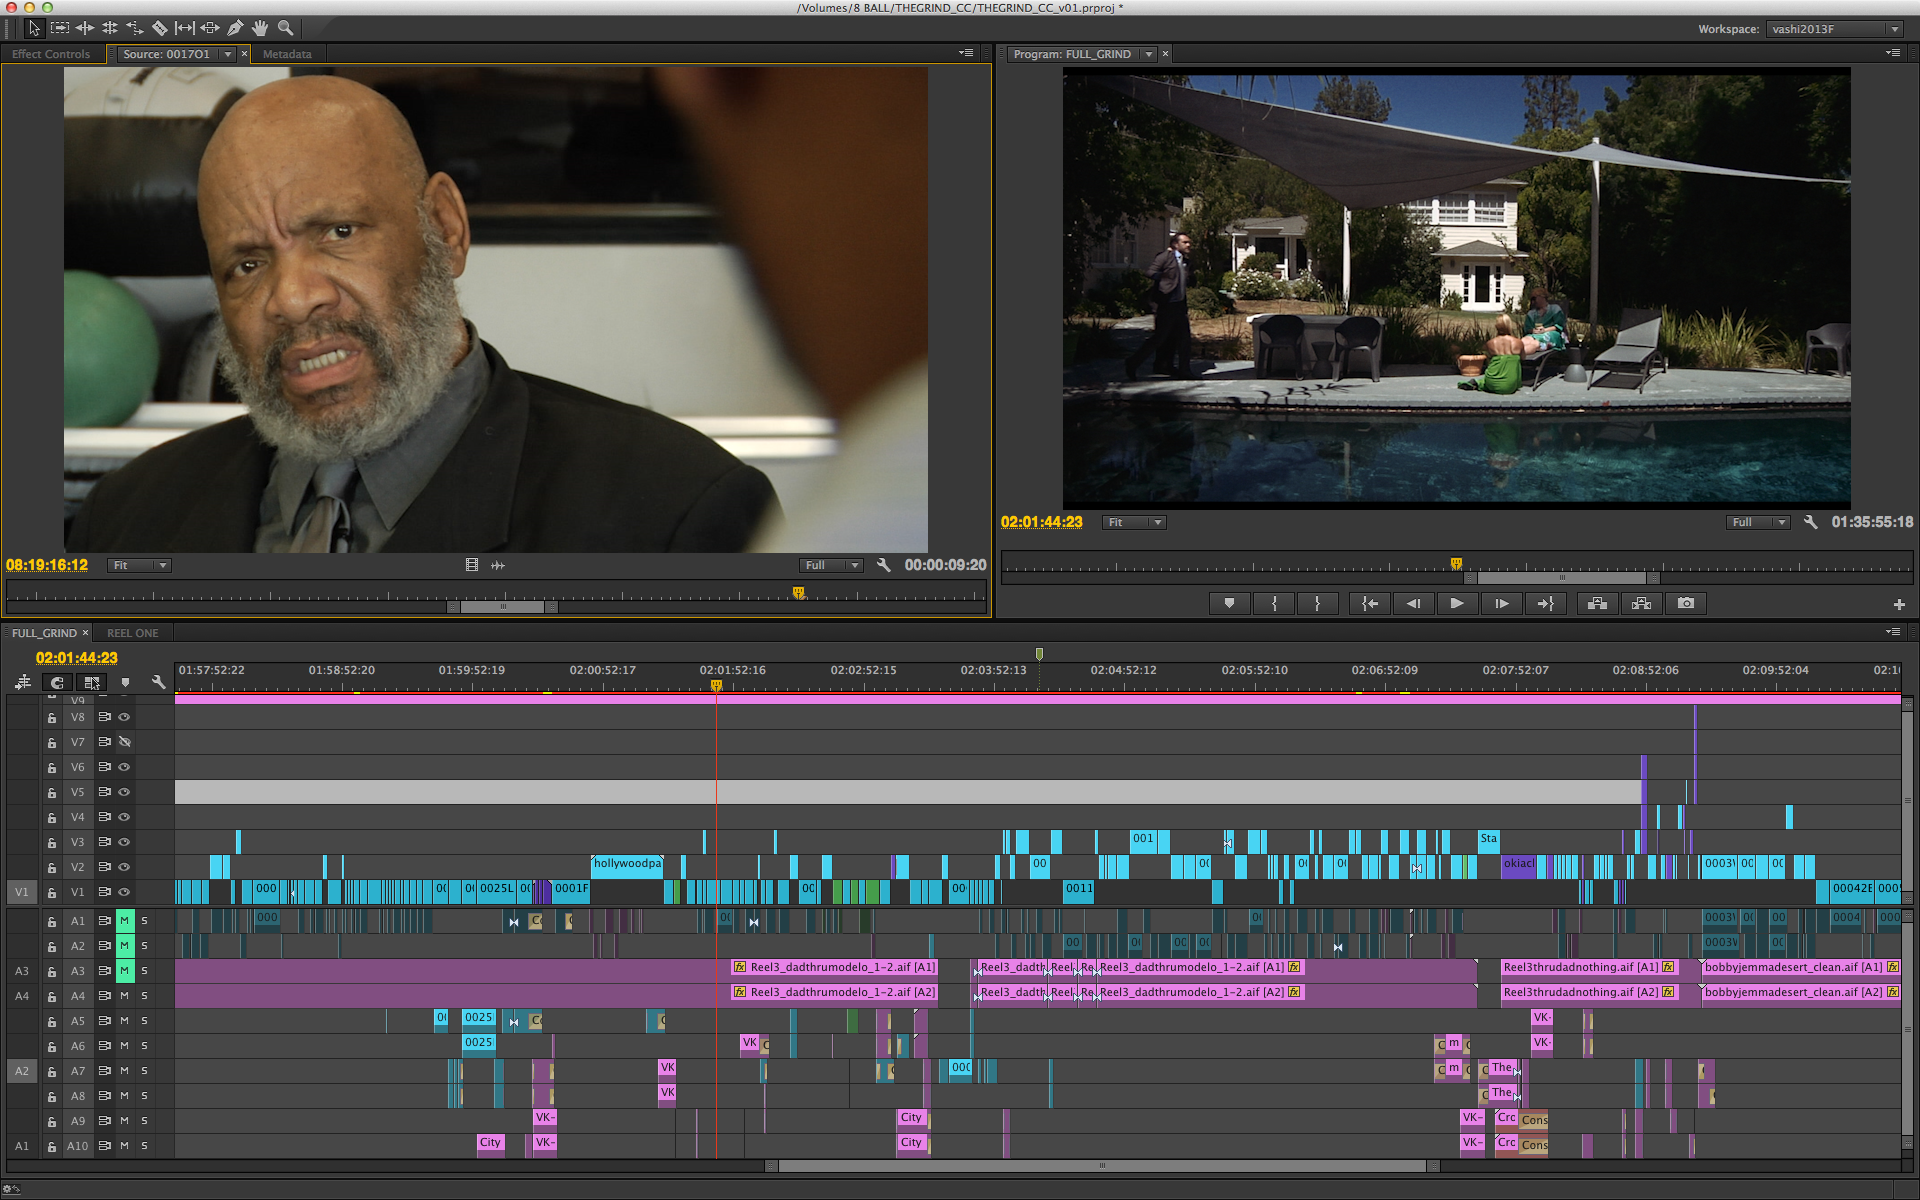
Next I would recommend pouring over this exhaustively comprehensive blog post from Vashi, on his five year post-production labour of love on his own feature film The Grind. The post is packed with excellent tips and tricks that Vashi has perfected over the hundreds of hours he’s spent in the editing chair. A must read for any wisdom hungry editor!
All my footage and audio started inside Premiere Pro and using Dynamic Link would connect me to After Effects. Tight integration with Audition and Photoshop sweeten the deal and now I have Direct Link to Speedgrade. Like the center of a wheel, Premiere Pro is the hub and the spokes reach out to all the other software. There would be no more transcoding or exporting stand alone quicktime files. There would be no more temp folders holding files that would be rewritten daily and forgotten…only to take up space and confuse my already overflowing coconut. No more time wasted rendering out AE comps, importing and swapping out previous versions. No more brain-sapping, tedious and repetitive clicking and waiting to update my current cut.

I chose to cut on Premiere Pro CC for several reasons. Speed, Stability and No Rendering. The average Asylum film project has 6 layers of video and up to 20 layers of audio during editorial. This includes layers for footage, VFX slugs, ADR slugs, Temp VFX shots and more. Each on its own layer, each formatted a certain to keep consistency throughout the shared project.
For a detailed look at editing the cult hit in just six weeks, we turn once again to the fabulous folks at Pro Video Coalition (where Steve Hullfish blogs) but this time it’s editor Scott Simmons who interviews Vashi on his Premiere Pro workflow, which is coming from an FCP7 ecosystem.
I chose to have the entire timeline of the 85 minute film in one timeline. The Premiere Pro CC project had imported and was accessing all 40 hours of raw footage. I had no sluggishness in my one giant timeline and anyone who says Premiere Pro CC can’t handle feature length projects is sadly mistaken. I’ve cut my last 4 features in Premiere Pro CC and all of them were single timelines with footage counts of 30–150 hours. No show stopping issues on my end. Most notably, for the first time in many projects…I had no crashes or “Premiere Pro experienced a serious problem” in the 6 week post run. Boom.

“Never hang on a reaction too long…” Zucker taught him. “If you milk it, it loses its funny,” Nedomansky explains. “You have to cut away at the right moment, see the reaction to the dialog or action and then come back for more of the original reaction. If you linger, it’s death.”
You can read even more about Sharknado 2 and pick up some fantastic comedy editing ‘rules’ in this PostPerspective interview with Vashi, which is also well worth a read for a few more workflow details. As a quick aside you can also read about the colour grading process for Sharknado 3, in this Post Perspective article too.
Nedomansky emphasizes that as an editor it’s imperative to watch all of the footage. “You can’t grab the first thing you see and say, ‘That’s good enough.’ There is no good enough. It has to be amazing. So I would build an act a day and Dropbox it to him — a 10-minute H264 is only about 115MB. He’d look at it overnight and in the morning give notes and I’d move forward to the next act. We’d ping pong back and forth like that for the next couple of weeks. It was a simple and effective workflow.
UPDATE
Here are a couple more goodies from Vashi on his editing process and philosophy in this video, and even more details, direct from Vashi, on cutting Sharknado 2 in this post.
FCPX Feature Film Workflow
If you’re still in any doubt that FCPX is a viable option for feature film work, then check out my previous post on the Focus making of, which extensively breaks down the process the post-team went through to edit and finish the film in FCPX.
In these recent FCP eXchange videos editor Marc Bach demonstrates some of his workflow techniques to save time, money and stress whilst working on an indie feature film, which is pretty engrossing viewing.
Assistant Editor Mike Matzdorff, who (literally) wrote the book on FCPX feature film workflows, talks through the process of handing over your work to the sound department. There’s a great amount of step by step detail in this seminar session. You can hear a lot more from Mike in the Focus making of post.