Getting To Work In Media Composer

New Features in Media Composer 7
http://www.youtube.com/watch?v=85zwkjFtwiM
At NAB 2013 Avid announced that on June 27th (sigh) Media Composer 7 will be available for a $299 upgrade*. The biggest new features are:
Background transcoding of your AMA files via Dynamic Media Folders.
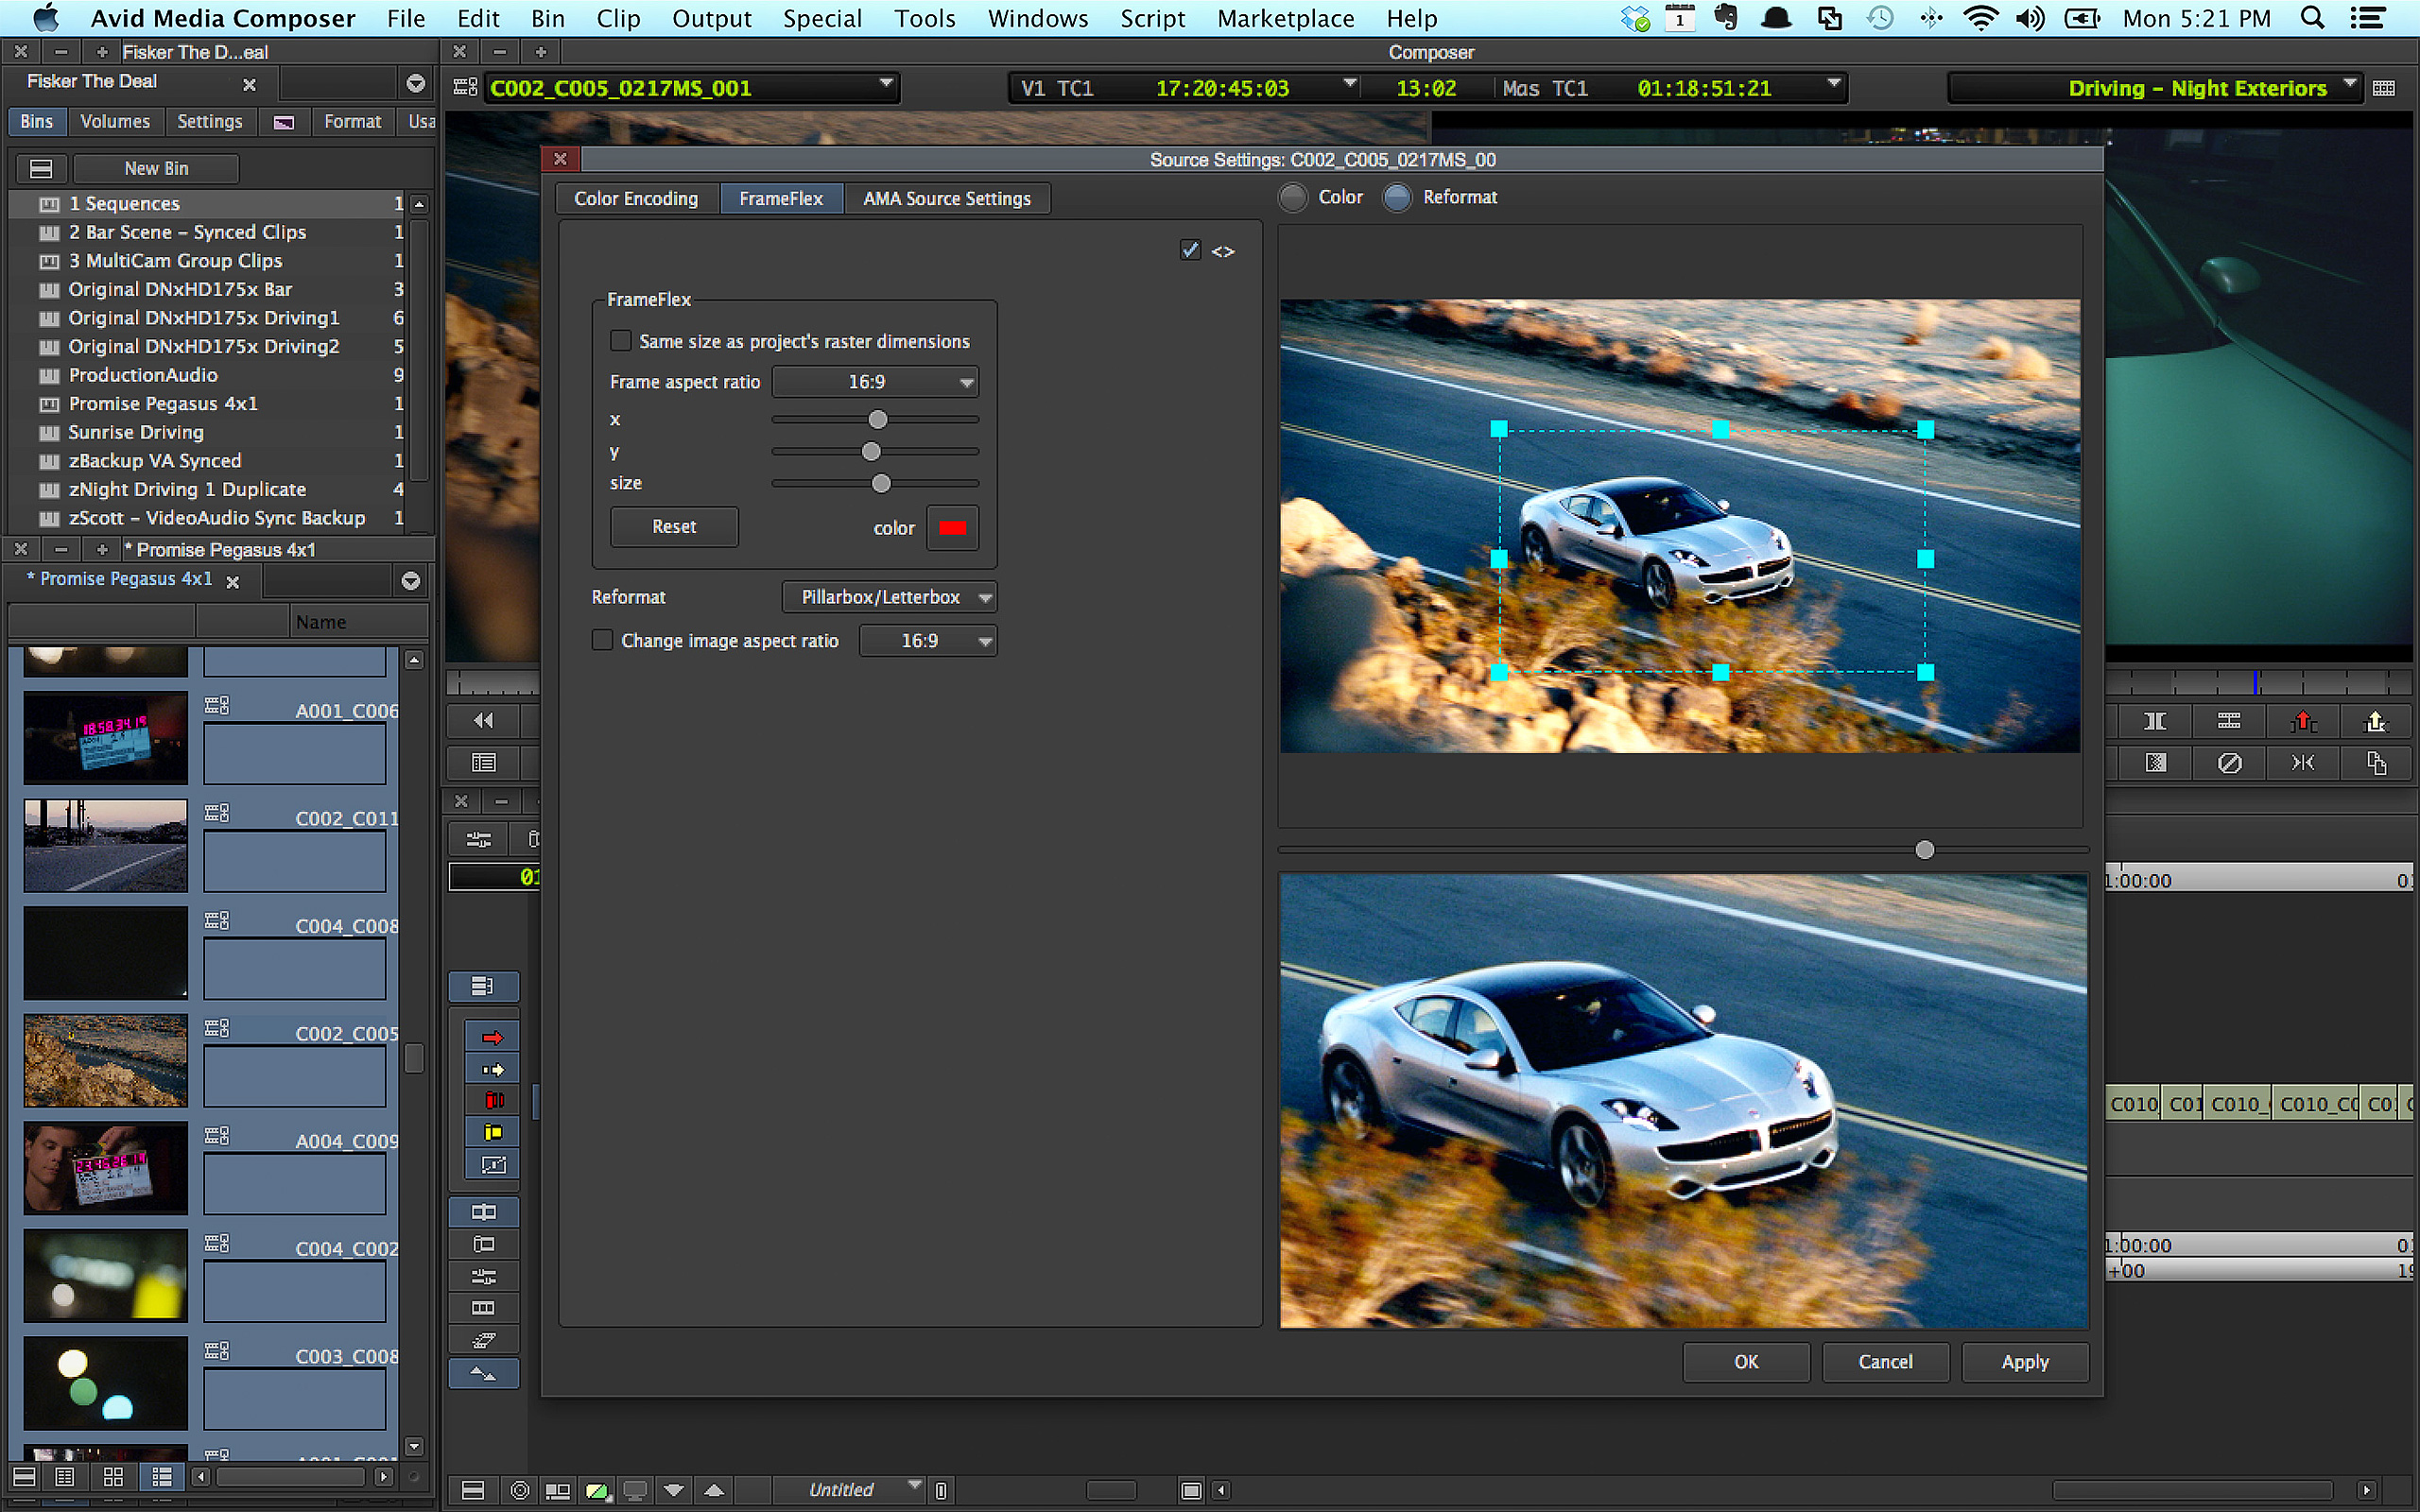
Frame Flex – Reframe any media above 1920 x 1080 to fit. Also 1D/3D LUT support.
Some added audio features like cached waveforms, a master volume fader and clip by clip gain control (How are these considered new updates – they should come with an apology for the delay!)
Studio Daily also points out that “while AMA was formerly a read-only architecture, now it’s read and write, meaning you can write out to the same formats that you ingest.” Scott Simmons also tweeted that “QuickTime AMA links will support Alphas. Bring them in as a matte key.” Scott has a more detailed write up the new features on PVC and you can see him in the flesh talking about MC7 (and Lightworks) below.
Media Composer 7 Video Demo
You can check out a full 20 minute demo of some of these new features at work in MC7 as well as the (impressive) Interplay Sphere integration on the Avid Media Composer 7 mini site. Demo video direct link.
*Thought on paying for upgrades: I wonder how long this kind of model will continue if people like Blackmagic Design are giving away their upgrades to existing customers for free (although they have hardware to sell with it which makes a big economic difference) and players like Adobe are effectively doing the same with their cloud subscription service. From memory I also believe FCPX updates have been free too.
Michael Kammes has posted a balanced and thoughtful review of Avid’s announcements on his own blog which is well worth a read. He makes an important clarification on the new ‘background transcoding’ feature:
Let’s be clear about this. This is not background rendering. This is not background exporting. These are watch folders with user customizable profiles enabling the ability to import/transcode media into various formats for use with Media Composer, as well as consolidate or move media. Background rendering is planned for the future – however with no ETA. To assist, Media Composer presents a UI of the progress of the jobs to be accomplished in the background for the user to track progress, as well as cancel, pause or prioritize items. This is the first step (much like AMA for XDCAM in v3.5) in creating a robust framework which to expand upon in the future. As a side note, for those efficiency speed demons out there – there is no frame chase….the file must be fully transcoded before you can begin to edit with it.
Working in Media Composer 6.5.2

Some of which look very useful like exporting markers as an xml or text file, or local timeline clip colours and audio mix downs to dual mono tracks.
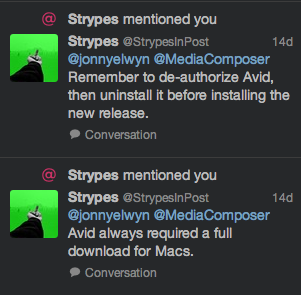
And thanks to @StrypesInPost I now know how to properly update Avid on a Mac. Nothing is ever as easy as it could be with Avid.
But I am loving being able to lasso multiple key frames and move them as a group (new in 6.5.2 I think?) which you can’t do in FCP7. Quick Tip – Alt+Click will let you slide keyframes left and right without affecting their level.
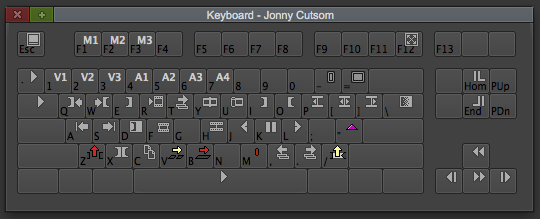
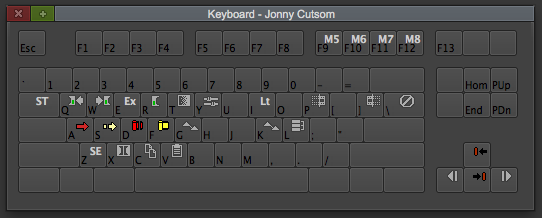
I am also appreciating Scott Simmons tip from the comments section of Diary of An Avid Switcher Part 2 about track panel keyboard shortcuts for each of the tracks. As you can see from the keyboard mappings below I’ve got them mapped to the 1-7 keys. This is really useful as Avid requires the use of the track patch panel a lot more than FCP7. Thanks again to Ben Hershleder’s Avid Cookbook I now also have these shortcuts at my disposal too.
CMD+A = select all tracks. Shift+CMD+A = Deselect all tracks.

Avid Editing Tips
Here are a small collection of tips that I’ve picked up as I’ve gone along. First of all the manuals can be downloaded from Avid here. Slipping a clips contents while maintaining its in and out points on the timeline is easy when you know how; in FCP7 there is a specific tool (keyboard shortcut= S) for this where as in Avid you just lasso from top right to bottom left and then trim left or right as normal.
http://www.youtube.com/watch?v=8YLA1cuykFw
For working with effects adding a simple ‘zoom’ effect to video is slightly confusing. You’d have thought that Pan & Scan would be what you might be after, but this is only for still images. Instead you use the simple ‘resize’ effect. Add keyframes at the start and end of your move (mapped to ‘ for me) and adjust the sliders (oh you have to step into effects mode – shift+Y for me to see them) as you wish. Note that when the blue dot on the slider is highlighted the arrow keys will move slider up/down one increment at a time.
To add multiple effects to the same clip simply alt+drag the clip which will nest them. Finally what do all the effects actually do and which ones would you want to even use?
Blend – all your dissolves, dips to colour etc.
Film effects – Widescreen mattes including 2.35 anamorphic.
Generator – Subtitles and timecode burn in
Illusion FX – Film Grain and use Fluid blur for motion blur with direction of travel (have to render it though)
Image Effects – Pan and Zoom (stills only) Blur (looks like Gaussian blur in FCP) Color Correction, Flip/Flop, Mask, Resize (basically motion tab in FCP7), Stabilise
Key – loads of keyers
Reformat – Seemingly the same as the Distort slider in FCP7.
Title effects – All your text stuff
Time warp – Speed control and Reverse.
You can safely ignore all the wipes and other things you’re never going to use.
Avid Exporting Problems
So everything was going smoothly and I was about to export my first (almost) finished Avid project to send to my friend-as-client for feedback. This wasn’t the first time I had exported from Avid but this time, for some unknown reason, all could get was this error:

If you’ve made it to the end of the post – thanks and I hope if you’re also on your own Avid journey my slow-witted learning is saving you a bit of time!
Click through to the next part in the series – Part 5 Upgrades, Audio & Effects


Also, if you want to slip the contents of a clip without moving it – with the blue position bar over the clip, make sure the clip is not selected and use the one or ten frame trim keys and it will move that amount.
Thanks for this series!
Regarding a “zoom” effect – Avid has two confusingly similar in name affects. “Pan and zoom” is the effect for stills, but “Pan and scan” does indeed do what you need for video. You can keyframe zoom and position, and thus simulate camera moves to a degree…
Thanks for taking the time to comment and for that helpful clarification!