Tutorials for Colour Grading in Your Video Editing Software
These days the tools for colour grading your project to a very high level are right there inside your video editing software. In this post I’ll be gathering together some useful tutorials for editors looking to improve the look of their projects within Adobe Premiere Pro, Final Cut Pro X and Avid Media Composer.
Just to get it out of the way, obviously the best video editing software for colour grading in would be DaVinci Resolve, one of the world’s best colour grading systems, but given that I’ve devoted a lot of other posts to rounding up some of the best Resolve tutorials, paid and free, then I thought it would be fine to leave it out of this particular post. Check out the DaVinci Resolve category for every single previous post on grading in that app.
Also, just to point out from the start, thanks to Denver Riddle of Color Grading Central.com, you can save $20 on his FCPX grading plugin, Color Finale, with the coupon code ‘jonnyelwyn‘.
If you’re completely new to colour grading as an editor, then this post by Eric Escobar over on Premiumbeat.com provides a brilliant 101 lesson on how to navigate the basics without messing things up, plus a few handy shortcuts to help you get better results, faster. Eric covers tips on colour management and accuracy, working with LUTS, understanding the RGB parade and using the Vectorscope to sort out your skin tones.
You’re not a colorist, but everyone in the pipeline before you decided you would be. Blame it on the culture of delayed ambivalence that permeates a technology-saturated industry. Whatever it is, you have a bunch of clips and you need to make sure that the people don’t look purple and the budget didn’t include a grade accurate monitor.
Colour Grading Tutorials in Premiere Pro
The new(ish) Lumetri Color Panel tools in Adobe Premiere Pro CC 2015, add a lot of very useful functionality to colour correction work within the software, that historically, were pretty difficult to get good results with. In this first tutorial from ReTooled.net, Josh walks through the basics of using the panel, in the colour view in a rapid fire fashion, including applying camera specific LUTS.
Erik Naso has probably the shortest, and most useful tutorial of the lot, which is setting up a keyboard shortcut to by-pass the Lumetri colour effect, so that you can toggle your grade on and off in a jiffy.
This official Adobe video demonstrates how to save out a custom look that you have created, as a Premiere Pro effects preset for future use.
If you prefer to read your way through a guide to the essential tools in Premiere, then this article by the always excellent Oliver Peters, will sort you out. Oliver walks through each part of the panel, and includes a helpful explanation of the difference between Master and Clip effects.
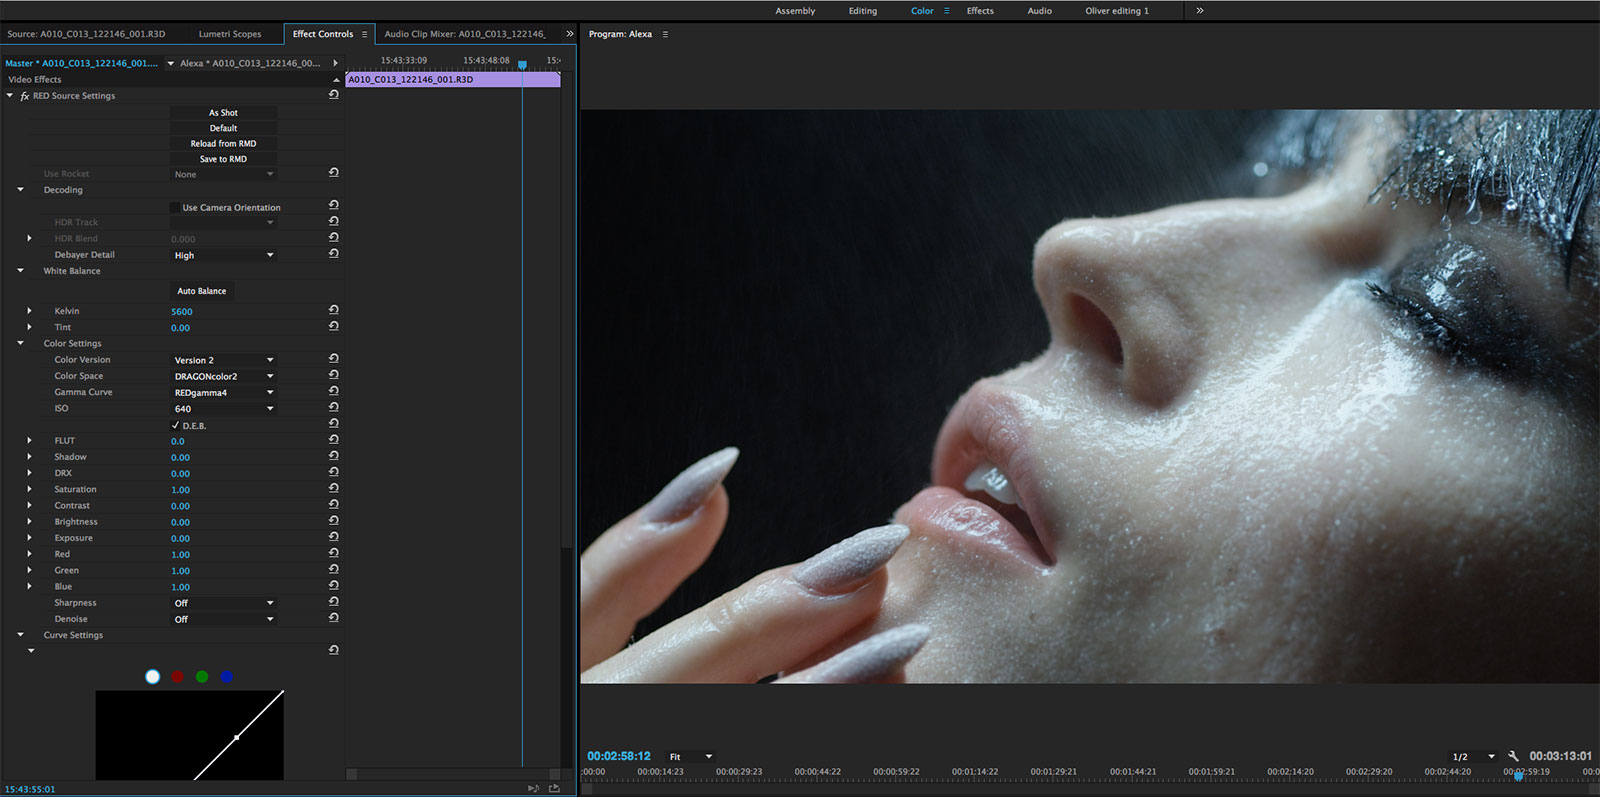
In addition to raw adjustments, Lumetri Color effects can also be applied as Master Clip effects and/or as timeline effects. The Lumetri Color panel also displays the clip name twice – master clip (left) and sequence clip (right). Generally you are going to make your corrections to sequence clips, however, some common settings, like adding a Log-to-Rec709 LUT might be best done as a Master Clip effect.
Just understand that adjustments in the Lumetri Color panel can be applied to either or both sides, but that Master Clip effects will automatically ripple to other instances of that same clip elsewhere on the timeline. When you make changes to the sequence side (right), you are only altering that one location on the timeline.
I’ve cherry-picked a few tutorials from various sources in this post, but if you’re after even more tutorials, organised by specific elements of the Lumetri colour panel, then hop on over to The Premiere Bro’s giant list of tutorials here.
Colin Smith demonstrates how to answer a common request of selecting just one colour and keeping everything else black and white. It’s an interesting tutorial because he answers it in a way that a colorist might not. For a huge number of similar tutorials, and quick answers to ‘How do I…’ type questions check out Colin’s Youtube Channel VideoRevealed here.
Massi from Qareyfilm has a nice little colour grading breakdown from a project corrected entirely in Premiere, and a helpfully detailed write up with lots of screengrabs here, which demonstrates what can be achieved with some of the secondary colour grading tools, including relighting in post and doing a bit of ‘beauty’ work.
For a useful explanation of a few key colour grading terms, and insights on RAW and LOG colour correction workflows within Premiere, it’s worth taking a browse through this older article from Robbie Carman, over on Pro Video Coalition.
LOG or logarithmic recording has its origins in scanning (telecine) motion picture film to video tape and then later digital files (datacine). The idea behind LOG encoding is to preserve as much dynamic range as possible in a shot with an eye towards mimicking the rich tonal range of celluloid film. These days many camera systems are capable of recording LOG, each with their own (slightly different) logarithmic curve tailored to the camera sensor of that camera.
I previously posted this tutorial in my most recent Premiere round up but it is worth looking at again, as it provides a really useful way of creating black and white looks in a much more controlled way than simply reducing the saturation. Abba Shapiro is the trainer behind Ripple Training’s Premiere Pro Colour Correction training title.
For even more Premiere Pro related tutorials, including some very useful tutorials on colour grading, check out my most recent round up of tips and tricks here.
Colour Correction Tutorials in FCPX
When it comes to colour grading inside of Final Cut Pro X, there are some native tools, but there are also a lot of third party plugins that can really help you get better looking results, faster. I might do a separate post on those tools, so for now I thought I’d focus on using the tools that all FCPX users will have at their finger tips.
That said, the most notable third-party plugin for grading in FCPX is probably Color Finale co-created by colorist Denver Riddle, who also runs ColorGradingCentral.com. In the hour long tutorial above, you can see how he used the plugin to colour grade an entire feature film, also edited in FCPX. You can find a lot more free tutorials from Denver here.
I got in touch with Denver to find out more about the app, and he was generous enough to offer the readers of this blog 20% off Color Finale with the code ‘jonnyelwyn’, so if you want to save yourself nearly $20 off the usual $99 price then make sure you use the coupon code at the checkout! A huge thanks goes to Denver for offering this.
Mark Spencer and Steve Martin from Ripple Training, highlight what’s changed in regards to colour correction features in FCPX 10.2 and how to use them to perform secondary colour correction on an image.
Furthermore if you wanted to take your timeline out of FCPX 10.2 entirely and into Resolve 12, this post from Ripple Training will walk you through how to do it.
In this tutorial filmmaker Dan Allen, demonstrates how to use the ‘draw mask’ effect to essentially hand roto an on-screen element in FCPX to perform a secondary colour correction to a shot. Without any kind of tracker this will be laborious to say the least, but at least you can learn how to do it, and Dan does a great job of highlighting how to use the tool with lots of detail on working with keyframes, keyboard shortcuts and more.
If you want more tutorials from Dan, check out this previous post in which his 87 tutorials are featured – The Beginner’s Guide to Learning FCPX.
In this post Oliver Peter’s shares his grading strategy in FCPX when grading LOG footage using a few different plugins and effects to create his ‘base grade’. Essentially he adds a LUT and a vignette before really getting started.
The approach I’m taking is using a creative LUT to define the overall look and then color correct individual clips for consistency. A creative LUT should only be considered as spice, not as the main course. You can’t rely solely on the creative LUT for your shot. There is no “easy” button when grading shots on a timeline.
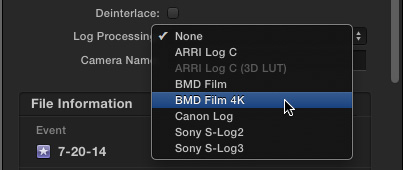
If you are working with LOG-C images you’ll want to know how to turn off the automatic (for ARRI cameras only) LOG to Rec.709 switch in FCPX. In this step by step article from Larry Jordan, you can learn how to adjust these settings for various cameras.
If you want to speed up your FCPX grading then it’s worth checking out this Macbreak tutorial, which I found via Premiumbeat.com, which shows you how to create custom keyboard shortcuts for colour correction. The tutorial below demonstrates how to create a shortcut for toggling on and off your grade, very handy.
In this webinar excerpt Larry Jordan noodles about with the colour match effect inside FCPX with some useful results, depending on what you are trying to achieve. It’s probably not a good idea to expect this to do all the work for you, but at least you know it’s there.
If you are entirely new to colour grading, and grading in FCPX then this introduction to adjusting contrast will walk you through how each part of the colorboard effects the image.
If you prefer to read your way through a comprehensive ‘basic guide’ to grading in FCPX, check out this MacProVideo article.
In the last tutorial from Larry below you can learn how to save an effect preset for later use, in a grading context this would come in handy if you want to save some of your favourite grades for later, or to add across different projects.
This free 15 part tutorial series from Denver Riddle of Colour Grading Central is now over 4 years old, but the principles remain valuable, so it’s worth a watch if you’re completely new to colour grading, although some of the features and functionality will be for a much older version of FCPX.
Colour Grading in Avid Media Composer
When it comes to colour grading within Avid Media Composer, this tutorial from Steve Hullfish, is a great place to start as he walks you through all the essentials from how to layout your workspace, work with Avid’s built in scopes and move between colour correction and editing modes. Steve is also the author of The Art and Technique of Digital Color Correction and Avid Uncut: Workflows, Tips and Techniques from Hollywood Pros.
This very clear tutorial from Genius DV demonstrates to correct a colour cast on a shot by adjusting the chroma and using the Spectra matte effect. It seems like a slightly odd way to achieve the final result, but a helpful tip none the less!
If you’re looking for an incredibly in-depth lecture on colour management within your Avid Media Composer workflow then this 50 minute webinar from Avid editor Daniel Huber will deliver the goods in spades.
If you want to get started with all that in a much quicker fashion, then Avid’s standard bearer of tutorial creation, Kevin P McAuliffe demonstrates how to sort colour encoding inside the Source Settings, work with LUTS and the Color Info Tool. If you’re new to Avid then this is well worth a watch and Kevin’s presentation style is very easy to follow.
In this older tutorial from Ashley Kennedy, an instructor over on Lynda.com, you can learn about the best way to go about using the auto colour functionality in Media Composer to set your auto black, white and colour balance levels.
In these two tutorials you can learn directly from ARRI on how best to work with ARRI Alexa and AMIRA files Log C files in Media Composer 8.1.While we’re on the subject of camera specific workflows if you’re in the habit of working with Canon C300 footage then this write up over on Cut and Splice will be worth reading.


