After Effects for Film Editors – Part 6
This edition of After Effects for Film Editors comes hot on the heels of Part 5, which took a detailed look at some advanced compositing techniques – check that out here.
You can also check out all previous instalments of After Effects for Film Editors here too.
This time around I’ve brought together a collection of tutorials that can help make your life in After Effects a fair bit easier, especially if you’re new at this.
This post also includes a review of the headline new features in Red Giant’s Trapcode Suite 14‘s flagship plugins; Trapcode Particular and Form. This review is written by my animator brother, Chris Elwyn.
But first some freebies!
Free After Effects Tools and Templates
Sometimes it’s quicker and easier to customise a free template from one of the many reputable purveyors of After Effects templates and tools. Here’s another run down of some useful freebies.
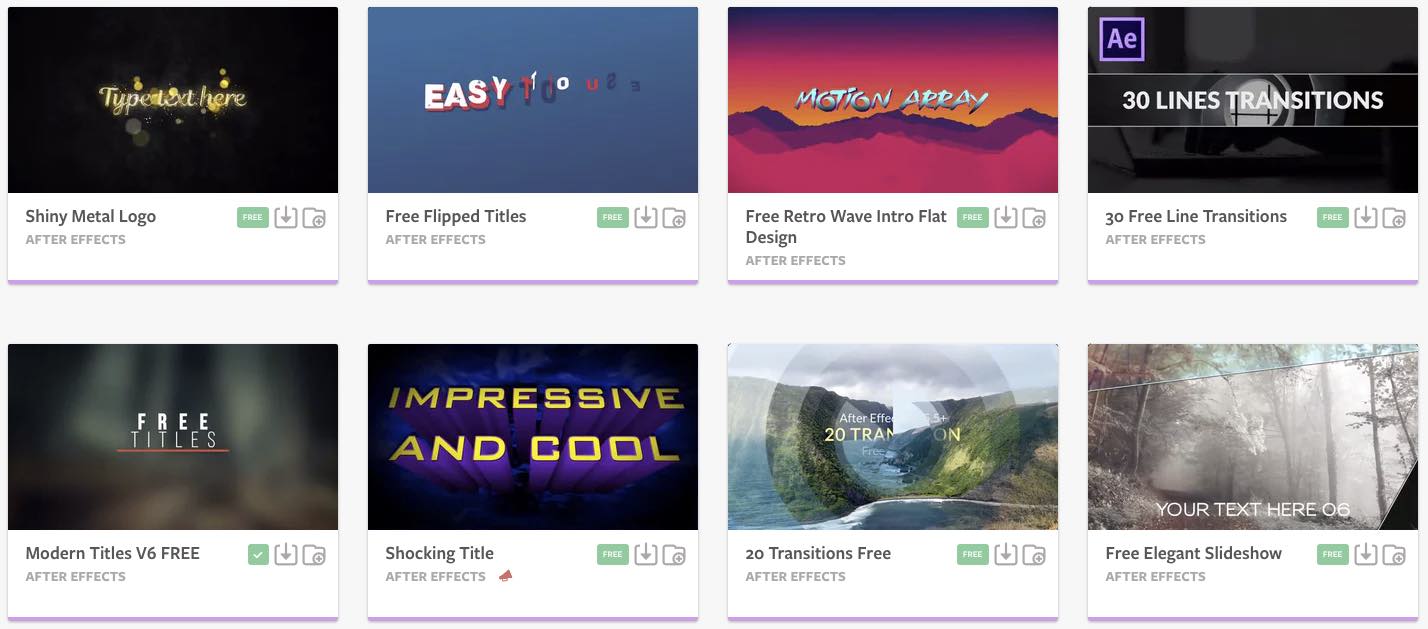
Motion Array have a great selection of freebies including After Effects templates, Premiere Pro MGRT files, sound effects, LUTS and more.
Rocketstock.com has a monthly freebie, which you can be notified of by signing up to their newsletter, or just checking in on the site every now and then.
What’s great about their freebies is that you can actually download them for free, without giving up your email address, on the template specific pages, not to mention the high quality of their design and animation.
Premiumbeat.com has a useful post on creating lower thirds here, as well as linking to another Rocketstock.com freebie of 24 individually animated 4K lower thirds.
The Premiumbeat post is worth checking out too, as it has some handy tutorials on it too!
Lastly, Philip from kaczorefx, over on this post from ToolFarm has a free EFX Keying/Alpha plugin for After Effects, which you can download today.
The plugin includes:
- EFX Alpha Select – lets you select pixels based on their opacity value.
- EFX Despill – a simple despill filter that you tell which pixels you want it to despill and which pixels you don’t want it to touch.
- EFX Luma Select – lets you select pixels based on their luminosity.
Another great freebie for After Effects is Mister Horse’s Animation Composer, which you can check out in detail here, along with a bunch of other great free After Effects plugins and tools here.
It’s also worth jumping back to Part 1 of After Effects for Film Editors, to see another list of free resources to download too.
If you want even more free stuff in general, check out the Free Stuff page on the blog, which includes promo codes, discounts and other great freebies.
Simple After Effects Tutorials for Film Editors
In this useful tutorial from Sean Frangella, you can learn how to use expressions to connect effects to multiple layers in your composition without creating multiple sets of key frames or adjustments.
This can be as simple or complicated as you like and Sean covers some handy examples in less than 10 minutes.
If you’re after more of these kind of time-saving foundational skills then do check out After Effects for Film Editors Part 1, which has a lot more of these.
For some great tips on doing something super simple that you might end up needing to do on most projects; creating simple text animations that is, check out Sean Mullen’s detailed tutorial on how to create these in both After Effects and Premiere Pro.
Sean is a VFX professional who also runs Rampant Design.
In this 7 minute tutorial from Film Riot you can learn how to improve your title design work.
Ryan shares a few foundational tips and then dives into a few tips on using the Essential Graphics panel in Premiere Pro.
Lastly, Mikey demonstrates how to build this bendy shadow title design template in After Effects.
Red Giant Trapcode 14 Review
UPDATE – SAVE 40% on EVERYTHING in Red Giant’s Store on December 5th only!
[Editors Note – I was asked to take another look at Red Giant’s latest update to their Trapcode Suite of tools, having previously reviewed Trapcode Suite 13, along side my animator brother.This time around I’ve not had much time to play with the new features, so I thought I’d hand over to my brother to deliver a run down of the best of the new goodies.]
So now that the dust has settled a little bit, it’s time to take a look at the headlines for the latest release of Trapcode 14 – a suite of tools that genuinely are industry standard – and try to get a sense of the update and whether it’s worth dropping some of your hard-earned cash on.
There’s some nice new additions to the standouts of the suite, Particular and Form, so let’s have a look at what’s been added, tweaked and changed, starting with a particularly small detail.
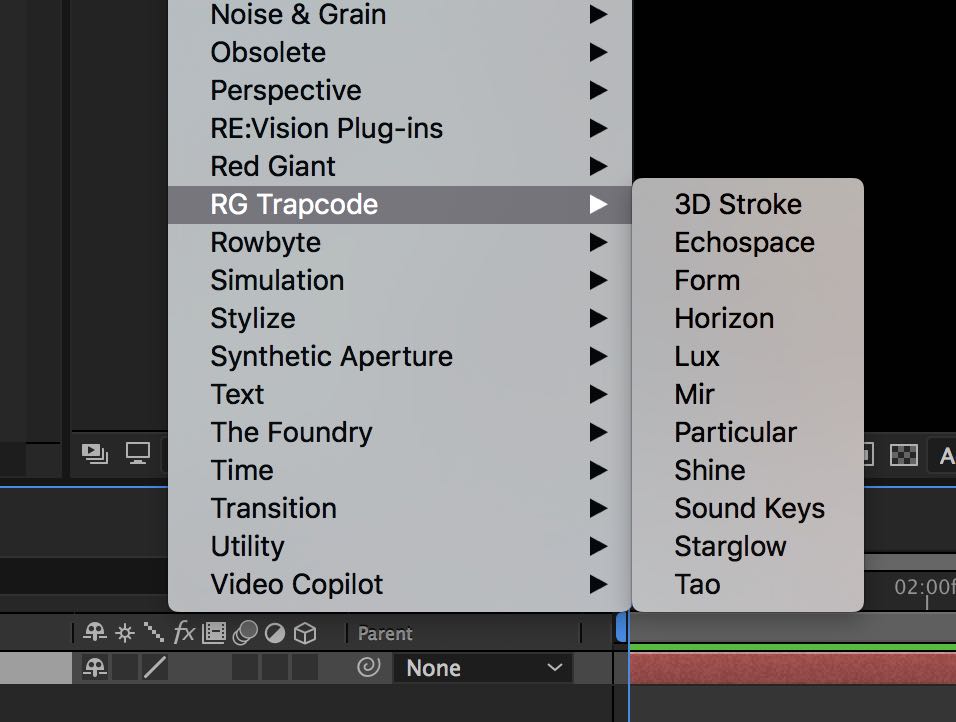
The folder in the Effects menu has had it’s name changed from Trapcode to RG Trapcode. It seems insignificant and to be fair … it is!
But I think we can forgive Red Giant a tiny bit of realignment with their branding, as it does bump the Trapcode menu up alongside the other plug-ins from Red Giant. At least in my Effects menu.
With that out of the way, let’s focus on something a bit more important; Red Giant has enabled a number of the plugins, including our two headliners Particular and Form, to run on the GPU. This is great news for people that have stacked their rigs with power-heavy GPUs and good news in general.
Depending on your setup (both of your particle system and of your hardware), Red Giant are quoting some fairly eyebrow-raising boosts in speed with GPU rendering toggled on.
Harry Frank goes into more detail in the tutorial video (above) on the new features, including the gotchas that can crop up. It’s not a ‘set it and forget it’ feature, you’re going to have to experiment a bit for each particular situation (couldn’t resist that pun) but it’s great that the feature is there.
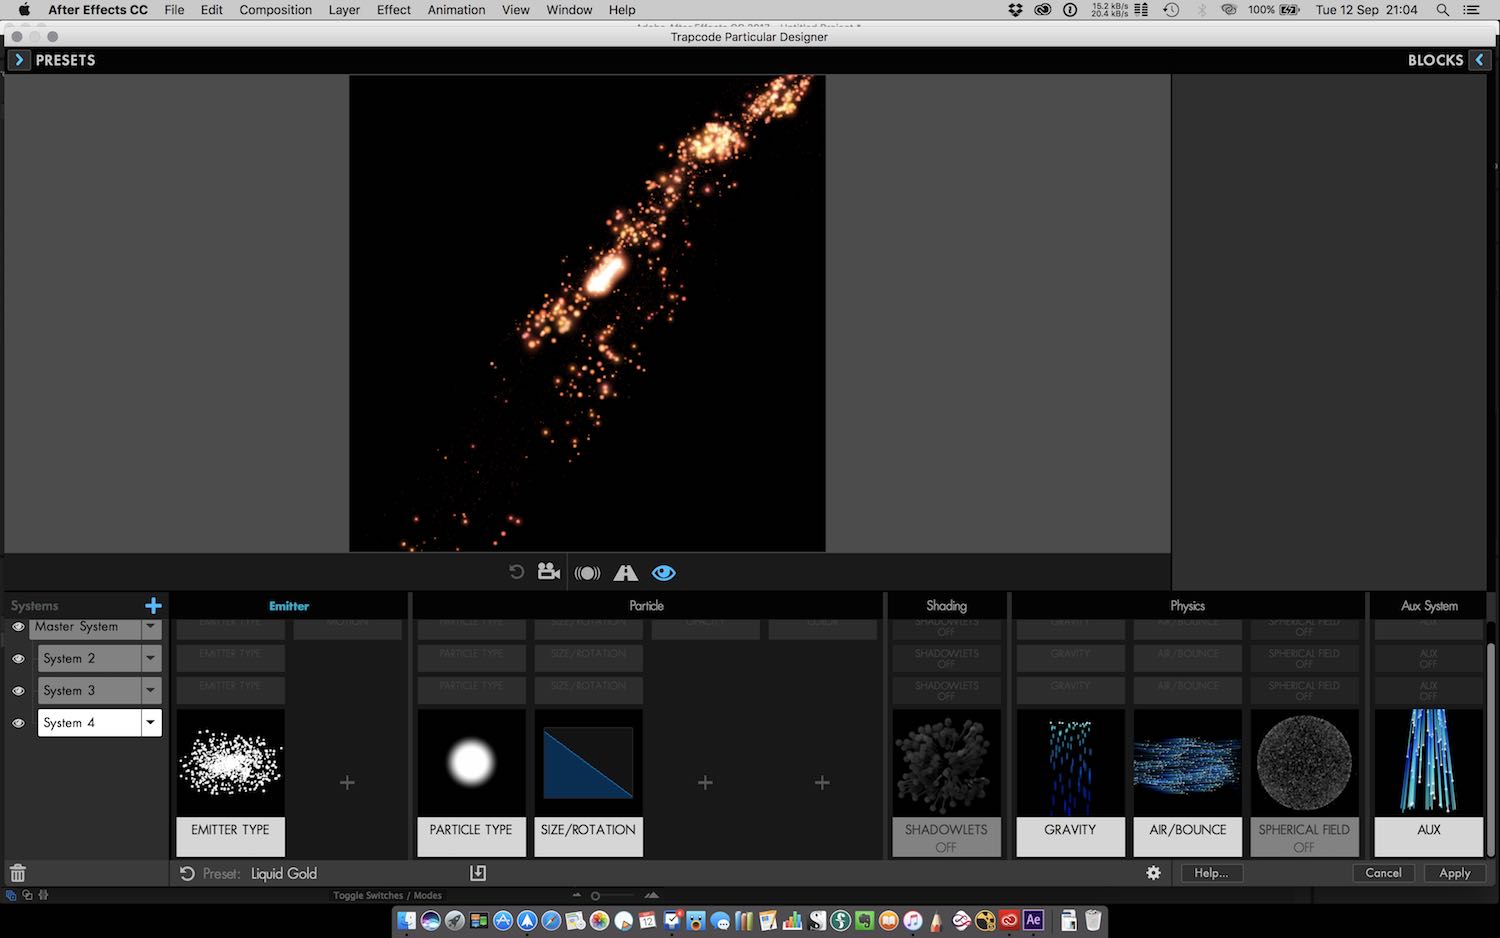
Speaking of Particular, let’s have a look at what’s been overhauled, specifically the Designer window.
You can create setups, preview their look and feel, and then save and load those presets – alongside a vast library of presets that come with the plugin. They’ve done a bit of work to tweak and improve things here, which is great as the previous version was a bit clunky.
As usual, all the settings that are available here are still available in the usual Effect Controls window, but the Designer presents information in a much more visual way which can be helpful depending on your workflow.
The second reason this is helpful is the great new feature that Red Giant have added in to Particular – you can now stack up to 8 systems in one instance of the plugin.
This is pretty huge – layering particle systems was clunky in the past and required multiple instances of the Particular plugin. With the new stacking system, you can have stacks that share the same 3D space and crucially interact with each other correctly, allowing you to build much more complex effects.
Browsing that Preset library I mentioned above is a great way to get a sense of what’s possible.
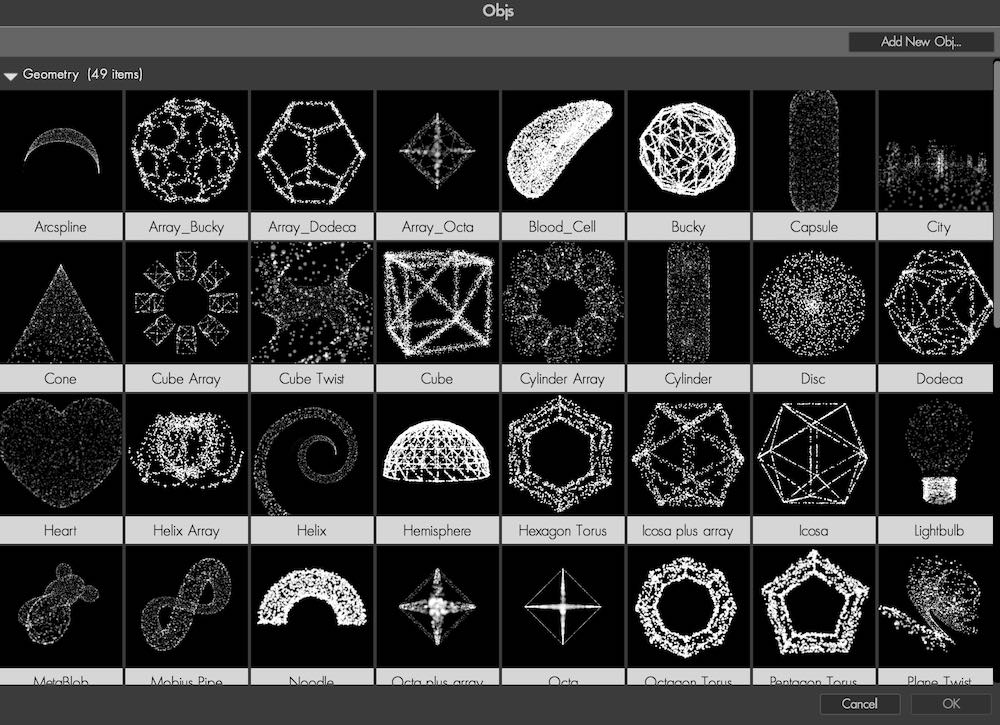
You can now bring in OBJs to emit particles from (OBJs are static or animated 3D objects in a particular format) and Red Giant has provided a fairly solid library of these as well – you can of course create your own if you’ve got some 3D chops – and there’s a library of sprites to go along with it.
Both of these have new managers that give you a visual thumbnail of what you’re choosing. The sprites are a good way to create more complex effects or particular looks, and the library is shared with Form (more on that later).
You’ll be using that sprite library more frequently in this iteration of Particular as the Aux system has been overhauled as well. Aux allowed you to essentially emit a secondary set of particles from your first set of particles, allowing for trails and other effects.
You can now tell those particles to render as sprites or textured polygons, and configure them separately from the main system. It’s a great new addition and very useful.
Form’s headline addition is the Designer window, a successful addition to Particular in previous versions and now new and improved for Trapcode 14.
All of the benefits of the Designer are here, visually previewing systems, checking out new looks and saving and loading presets – great if you need to share effects between team members.
The visual representations of the sprites and OBJ models are also useful, and again you can get access to all of these settings in the regular Effect Control window if you prefer.
A note about the OBJ emitters; previously you could only emit from the vertices of the object, which would give you less than stellar results, sometimes.
The new additions to both Particular and Form are the ability to render particles based on the edges, faces or volume of a 3D object, giving you much more control and much more desirable results, depending on the object in question.
Form has also revised the way that you map parameters to a curve – moving them from a dedicated section to be included in each roll-down depending on what you’re mapping.
For example, you might use a curve to give you a complex animation of scale over time, or opacity. It’s the usual tools but with a slicker implementation of the mapping system that’s a bit more intuitive to use, so hooray for that.
So is it worth dropping your cash on?
I would highly recommend it. It’s a useful update with the GPU acceleration and updates to the two headliners I’ve discussed here.
The rest of the suite covers a wide range of applications in motion graphics and VFX, and creating complex effects is much easier with both the new stacking system and the additions to the Aux system.
With that, I’m off to play with the Designer a bit more.
[Editors Note – Trapcode Suite is a collection of 11 plugins for After Effects which costs $999, when bought as a bundle and $1699 when bought separately. The Trapcode suite includes;- Particular
- Form
- Tao
- Mir
- Shine
- Lux
- 3D Stroke
- EchoSpace
- Starglow
- Sound Keys
- Horizon
If you’re serious about improving your motion graphics and visual effects work, then these plugins are a powerful addition to your toolkit. Plus, the visual designer in Particular and Form make it far more intuitive and thus far easier, for those using the tools for the first time.]

