
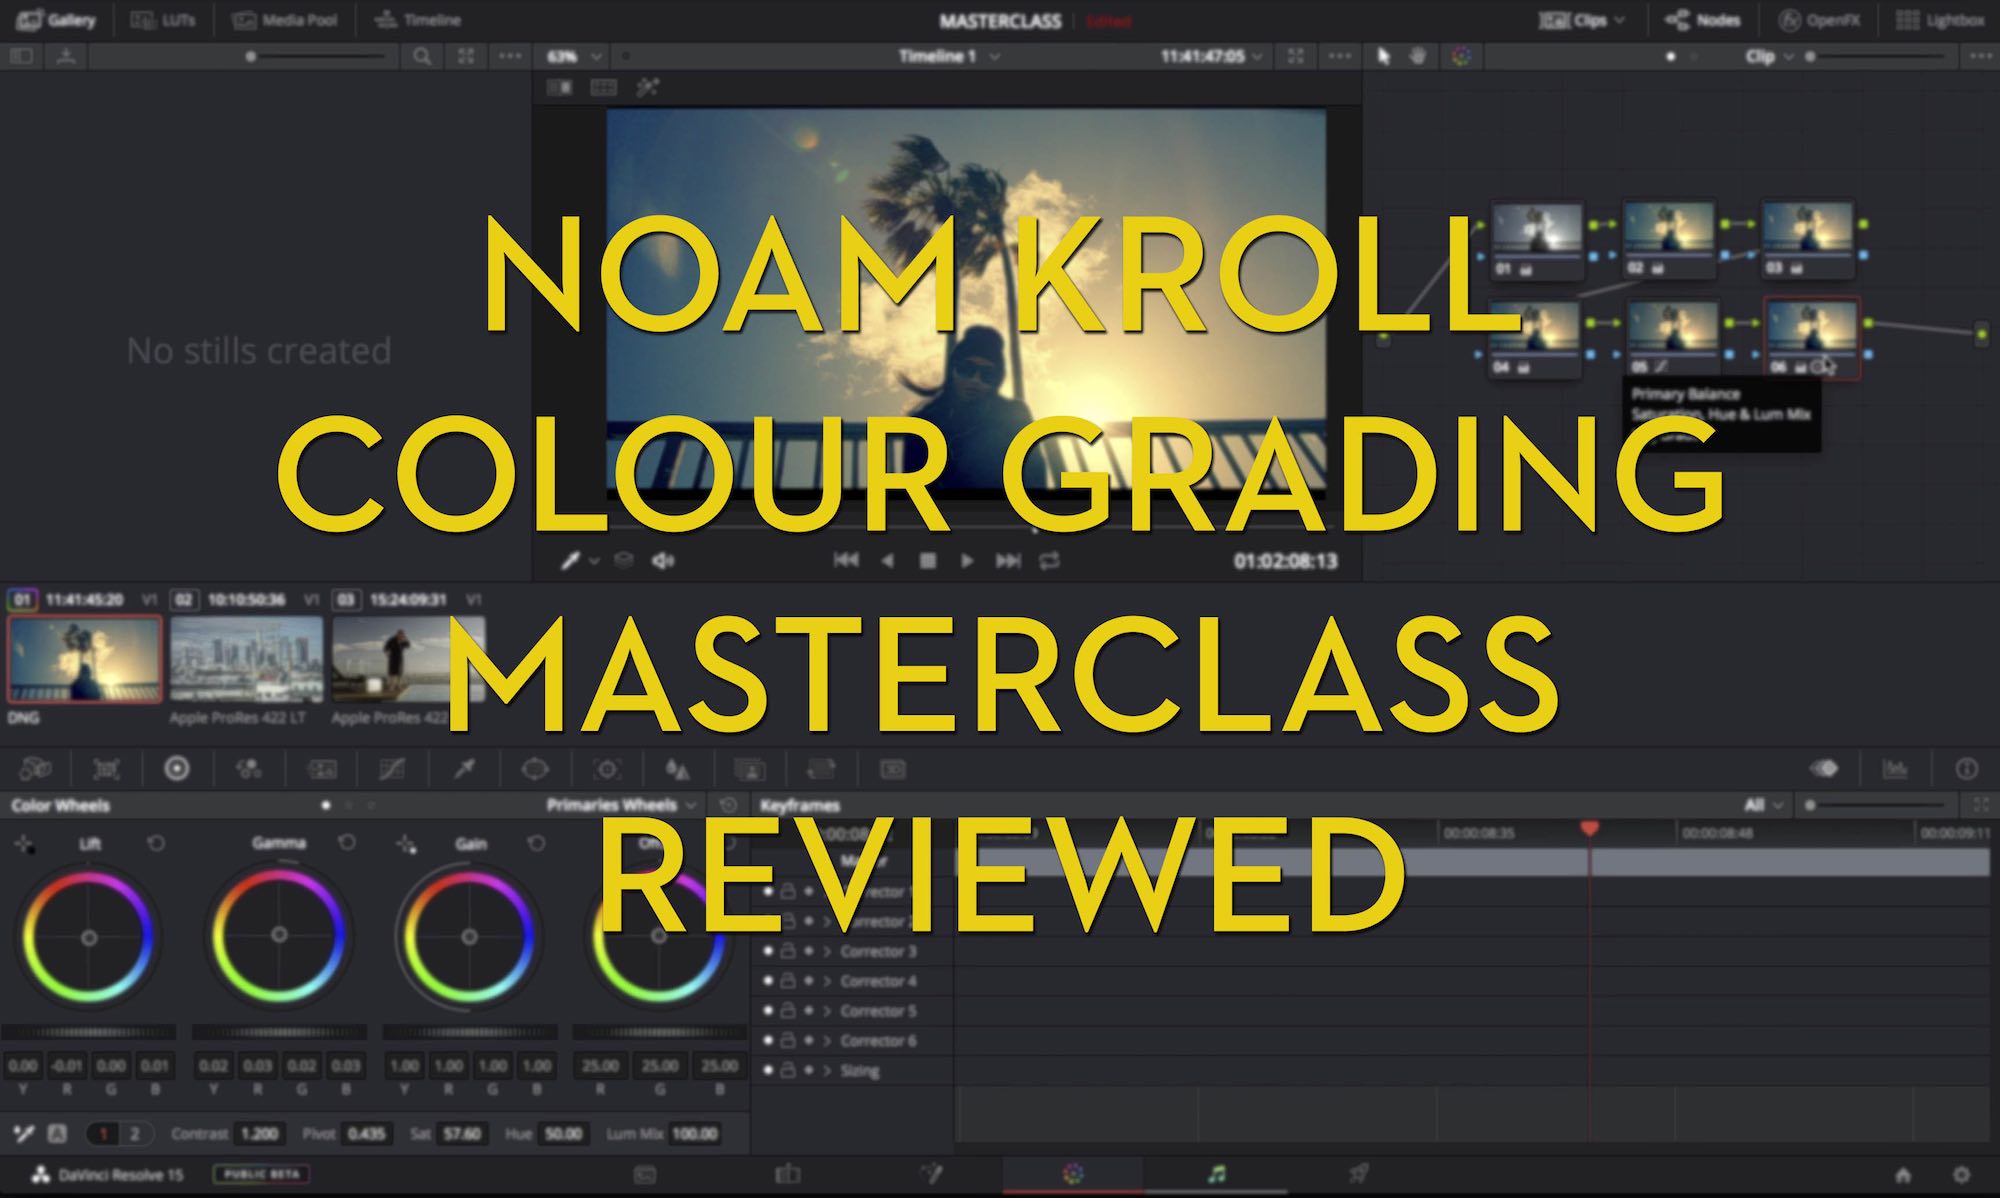
Noam Kroll Grading Masterclass Reviewed
- How to shoot a feature film for $12,000
- Cinematic LUTs worth paying for
- Noam Kroll Colour Grading Masterclass Reviewed
Noam Kroll is an talented LA based filmmaker – he’s a director, DP, editor, colorist – who runs his own production company, Creative Rebellion, and also excellent blog on all things related to filmmaking.
I reviewed some of his stylish cinematic LUTs last year, and when I heard he had just released a colour grading course too, I jumped at the chance to take a look at it as I was intrigued to see how he went about crafting these kind of looks.
It also just so happens that Noam has just completed his first micro-budget feature film, so I thought discussing a few of his lessons learned, would make for some interesting conversation too.
So by the end of this post hopefully you’ll come away with some great insights on filmmaking, colour grading and why $3 a LUT is an affordable way to bag yourself some great looking images!
How to make your first feature film for $12,000
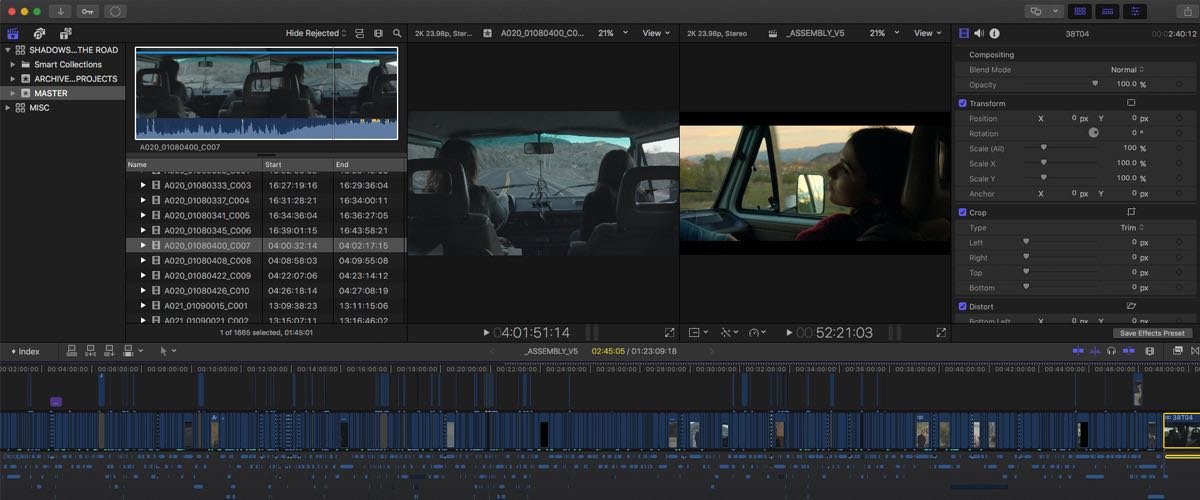
Noam’s first feature film, Shadows on the Road, premiered recently at the Chinese Theatre in LA and had it’s festival premiere at the Dances with Films festival in June this year.
It attracted interest from over 40 distributors but Noam has decided to focus on a self-distribution model, in order the champion his film the best way he knows how. He’s also under way on his second feature film…
With a micro-budget of $12,000 and filmed over only 12 days, the film had a fast start with only 2 months between the idea and the production. The post work took substantially longer than anticipated, but after a year and a half of hard graft the film is now finished.
Noam has documented much of his creative process, which required some new workflows, such as locking the film reel by reel (instead of all at once), in order to meet the deadlines for festival entry.
You can read about the film production process in this blog post;
I faced one of the biggest challenges in production that I ever have on my recent feature film Shadows on the Road – our cast could only work 8 hour days.
Well technically, they could work longer if we had a bigger budget… But since they were SAG-AFTRA members, anything over 8 hours would have been considered overtime, and that was not something we could afford on our shoestring budget.
To add insult to injury, on many days we shot far enough away from Los Angeles that their travel time to set also counted toward those 8 hours.
This meant we often only actually had 6 or 7 hours with the actors on set, and needed to shoot an average of 10 pages per day.
You can also read about Noam’s post production process in these two posts; one on his reel-by-reel approach, and this post on turning over his feature for audio mixing and colour grading it himself.
Normally, when I finish whatever color work I’m doing in DaVinci Resolve, I’ll either output a final master file right then and there, or at least output a picture master that will be combined with the final audio stems in FCP X.
In this case, again I did something a bit different…
Being as this was a feature (and not something short form), I thought it would be wise to export what I called a “Working Master”.
I assumed that once a master was rendered out, there would be a handful of shots that would need to be re-exported for one reason or another. For instance, I wasn’t able to smoothly playback shots that had noise reduction on them in Resolve, so I figured some of them might need to be tweaked/re-rendered once I saw them in full motion.
It made sense to export one big master file of the whole film, bring that into FCP X to combine with the final audio mix, and if need be, export any individual shots from Resolve that I wanted to re-color or adjust.
Noam Kroll in Conversation

The cast and crew of Shadows on the Road
Noam was kind enough to answer a couple of my questions on filmmaking, colour grading feature films and what it takes to create a 5 hour masterclass.
How long have you been a filmmaker and what’s your final goal?
I’ve been making films since I was a kid, so it’s hard to pin down an exact starting point!
It turned professional in my early 20s, about a decade ago when I started to direct, edit, and colour professionally on a freelance basis. I later opened up my own production house – Creative Rebellion – which I continue to run to this day.
For long term goals, I plan to scale up my narrative filmmaking and business efforts substantially, and continue to reach a wider audience with each passing year. My heart is in directing narrative films, but I am also very entrepreneurial, so really the goal is to find the perfect balance between the two and maximize my output on both fronts.
In running your own production company, what are your favourite kind of projects to work on?
Narrative fiction is certainly my favorite. That’s my wheelhouse – especially art house cinema, dark dramas, and thrillers – which most of my ideas tend to fall into.
That said, many of my commercial projects are really rewarding too, especially those in the branded content category. As long as I’m telling a story, I’m happy!
What did you learn grading your own feature that you couldn’t learn any other way?
I developed a process that I called the “working master”.
I actually wrote a whole article about this on my blog – the general idea was to simplify my finishing process by outputting a single master file (colour graded), that could be reviewed on multiple screens, not just my calibrated monitor.
After reviewing on several monitors, I would make note of any shots I didn’t love the look of, and re-colour them in Resolve. But rather than output an entire new master, I would just export those problem shots as “patch files” and over-cut them on my working master.
This allowed me to fix issues far more quickly, avoid unnecessary renders, and ultimately get to the finish line faster. It was more of a workflow thing than a creative discovery, but either way it was necessary for this project and was the only way I could hit my deadlines without sacrificing quality!
What’s next for your feature film Shadows on the Road?
We received nearly 40 inquiries from distributors after premiering in June of this year, and up until last week were still taking some meetings.
We now have locked in a distribution strategy with a release date to come in the next few weeks, so stay tuned!
In putting together this course on colour grading and having to articulate your own methodology, was there anything that surprised you, or any revelations as you created it?
Packaging my colour philosophy into an educational format definitely allowed me to see things from a new perspective.
Above all else, it became clear that the through line in my work as a colorist is simplicity. The best colour grades – even the ones that are really bold – are often the result of just a few purposeful choices.
Too often, colorists tend to throw around their colour balance haphazardly, trying to dial in the look as they go, which usually results in an overcooked grade.
If nothing else, I hope this course helps filmmakers step back and really think about their grade methodically… What the shot needs. What the story needs. And how to achieve the best result in the least amount of steps.
What do you think is the key to really successful grading? (As in, delivering a look from start to finish. Is it easier to be a DP who colours his own work, than just a colorist?)
In a sense, your question hit the nail on the head! While you don’t need to be a DP to be a great colorist, you do need great material.
The most beautiful shots I’ve ever coloured, were equally strong because of the source material. Footage that is grainy, lacks colour contrast, is shot at a low bitrate, is poorly lit, or has any other technical or creative issues can only be fixed so much in the grade.
Nailing exposure levels, skin tones, and colour balance on set will set the stage for those powerful, simple grades in the colour suite that everyone loves so much.
Noam Kroll’s Cinematic LUT Collection
UPDATE – Feb 2019 – Noam has launched a whole new site, CineColor.io to showcase his LUT collections, and added three more LUT packs to the mix.
These new packs, New York, Paris and Los Angeles add 12 new LUTS each, in a variety of cinematic looks. Bundled together this is the Cities Master Pack.
All of the LUTS now come in both .cube and .xmp formats too, which is handy if you’re a photographer using Adobe’s Lightroom.
I’ve updated the links and details below to connect to the new dedicated site, which is both easier to use and better looking!
Original Post…
Before we dive into my review of Noam’s colour grading masterclass, I wanted to talk a little bit about Noam’s Cinematic LUT collection, which I’ve previously reviewed here.
The reason I wanted to check out Noam’s grading course in the first place, was because the looks he has created for his LUT collection are so strong.
They’re easily the best paid-for LUTs I’ve worked with recently, especially when it comes to an instantly gratifying result.
There are other great LUTs out there, some of which I’ve also reviewed, but often the look comes in a stronger flavour that you then need to dial back, tweak etc. to get something that looks reasonable for your project.
With Noam’s LUTs however, each look has a much more subtle, but distinct, effect on the image and I find this just helps me get to a finished result far quicker.
Given that they require less customising, you could argue that these LUTs are also a useful starting point for newer colorists too.
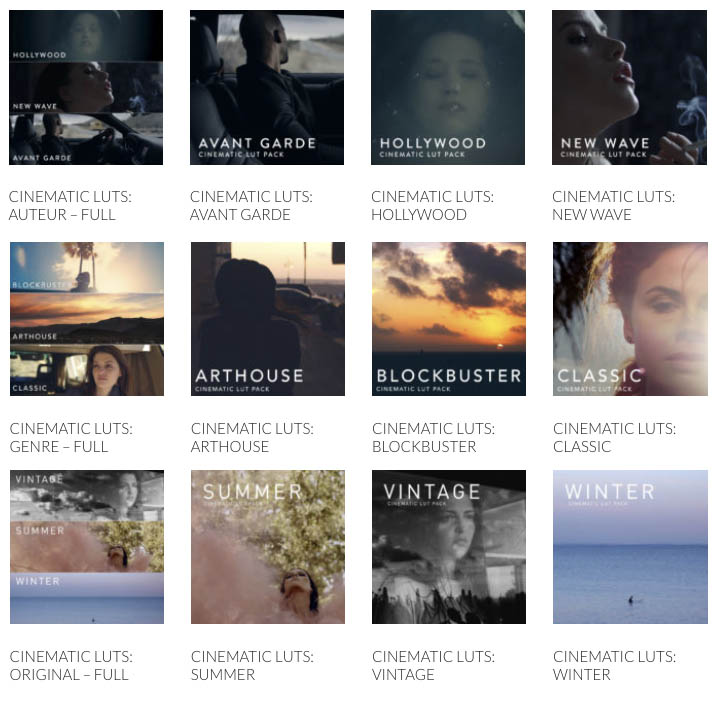
Noam offers 144 LUTs in total – split across four master packs of 36 LUTs each, priced at a bundled $129 (saving you $18), or available in specific smaller collections of 12 LUTS each for only $49.
These smaller collections help you to cherry pick your favourites, although you do pay slightly more.
If you want to go all out you can by the Ultimate Master Pack contains all 144 LUTs for a discounted price of $449, saving you $67 in total.

Personally my favourite pack is the Vintage Collection, which Noam describes as:
The timeless looks included in the Vintage Pack are specifically designed to evoke the feeling of nostalgia in the viewer.
Warm, desaturated tones on certain LUTs call back a mid 1970’s vibe, while the stark black and white aesthetic offered on another creates a powerful film noir look.
In this pack you’ll also find a poppy and colourful 1960’s look, a washed-out & faded film look, and much more. These looks are perfect for adding that unique vintage quality to your footage, even without using any film emulation.
Take a look for yourself here, the site has several different promo videos and a ton of great images to preview the feel of the different looks each LUT will deliver.
How to use LUTs in your Colour Grading
In this older tutorial (it’s not part of the colour grading masterclass) you can learn how Noam uses LUTs in his creative colour pipeline in DaVinci Resolve.
Learn Colour Grading from Filmmaker Noam Kroll
Noam’s Colour Grading Masterclass is actually very, very good.
I say ‘actually’ because it’s easy for anyone to set up a screen-recording and a microphone and try to sell you an online course on colour grading. You’ll see a lot of that on YouTube for free and it’s a very mixed bag!
What you want to find is someone with experience who knows what they are talking about. Who can communicate what they’re doing and why they’re doing it, in a manner that’s easy to follow and (importantly) replicate on your own.
You also want someone who has a great eye for producing beautiful images. In Noam’s course you will find all three of these requirements.
My goal is to share my go-to methods for creating cinematic looks with all of you, in a way that is highly accessible – regardless of your skill level as a colorist or what software you prefer to work with. – Noam Kroll
Over 12 chapters and about 5 hours, Noam guides you through his creative colour grading process from initial preparation to the final polish.
The course is largely demonstrated on DaVinci Resolve 15, but in the first lesson Noam covers how to use the colour grading tools in Adobe Premiere Pro and FCPX to help you translate the same concepts into the video editing software you might be using.
That said, DaVinci Resolve 15 is now out of beta and still free (or a ridiculously under-priced $299 for the Studio version), so you’ve got no reason not to download it and follow along with it’s powerful colour grading feature set.
The course also comes with 3 LUTs Noam has exclusively put together for this masterclass.
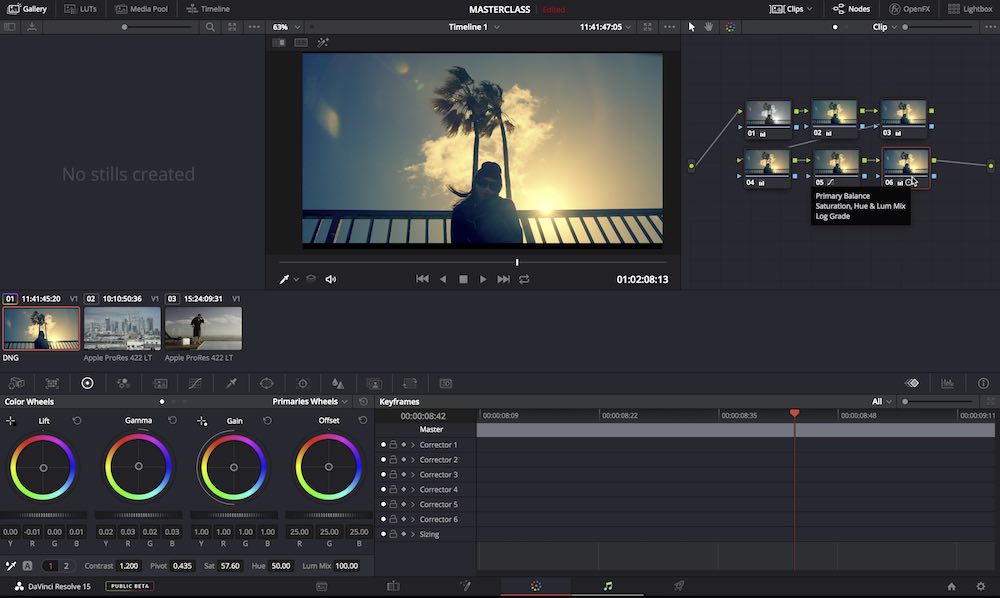
You access each lesson via Noam’s website, which are in turn hosted on Vimeo.com, but the uploads are super high quality and even when watching fullscreen on my 4K LG monitor it was razor sharp.
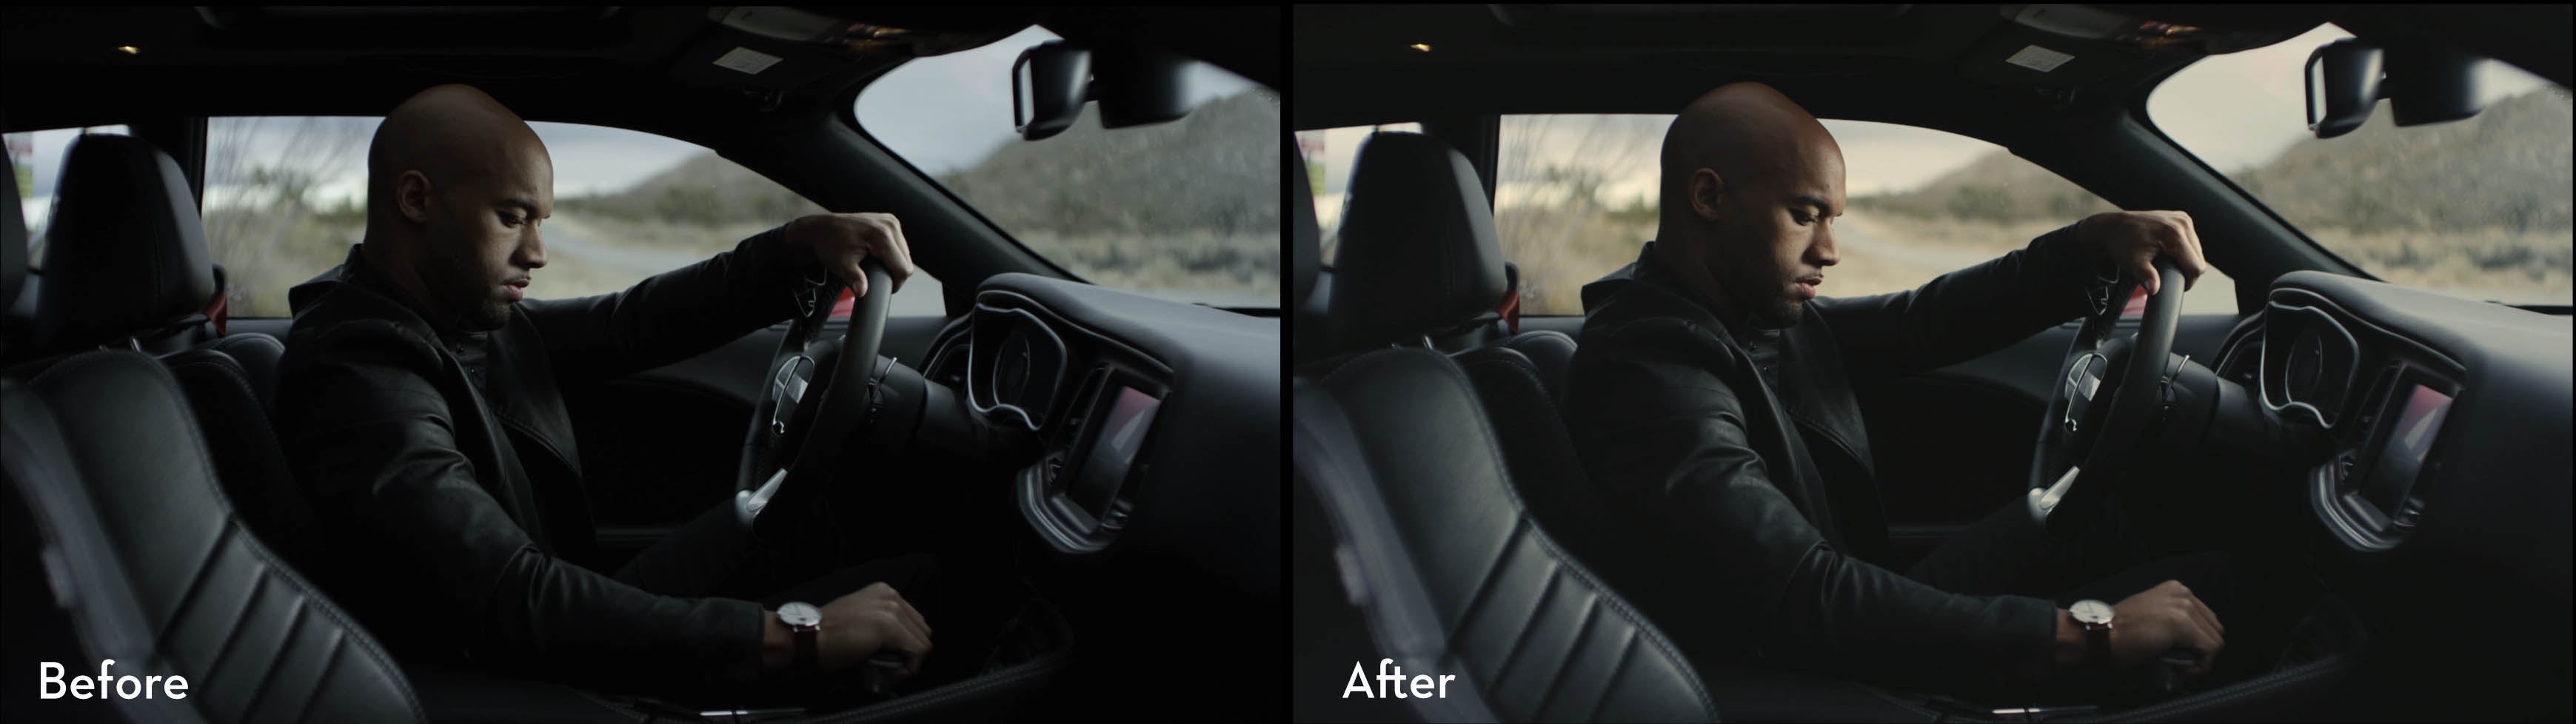
Click to enlarge
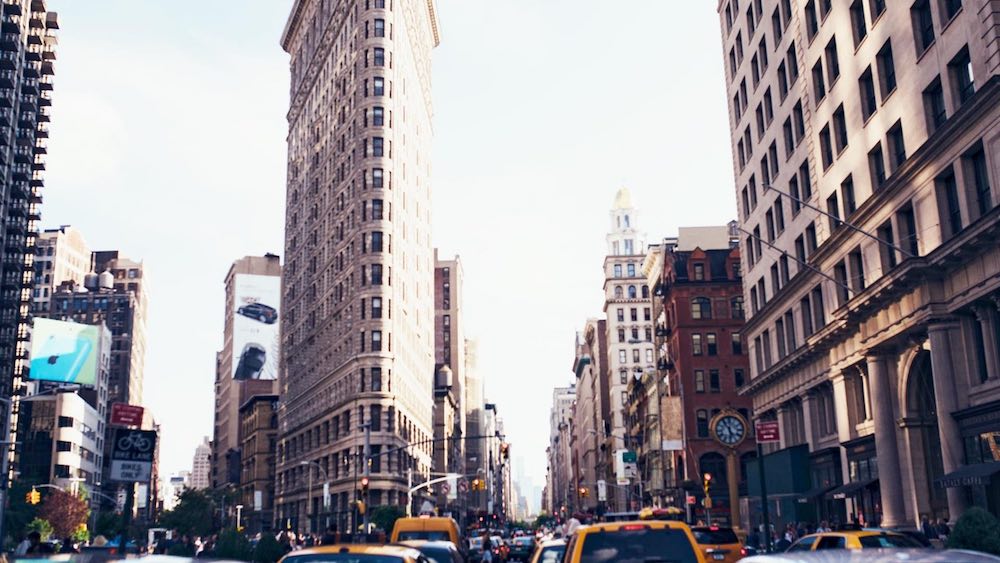
In this image you can see a before and after of one of the creative looks that Noam demonstrates in chapter 7 of the course.
It was really helpful to hear him explain some of the small but significant things that he did to craft this look which is moving the image away from a digital look (it was captured on a RED camera) into more of a filmic response.
The course is broken out into 12 chapters, each about 20-30 minutes long, and covers the following topics:
Set Up & Prep
- 1. Critical Tools– The most essential color grading tools, their primary functions, and where to find them in DaVinci Resolve, FCP X, and Premiere Pro.
- 2. Order of operations– A bulletproof workflow for RAW and compressed formats, designed to optimize footage for maximum creative potential.
- 3. Shot matching & base grades– The first critical steps of any creative grade.
Color Fixes
- 4. Exposure Adjustments– Techniques for handling over/underexposed footage to deliver optimal luminance levels with minimal noise.
- 5. Balancing Colors– Best practices for executing the primary grade, geared toward a natural/organic starting point.
- 6. Perfecting Skin Tones– Assessing and fixing common technical issues that affect skin tones for a more flattering look.
Popular Creative Looks
- 7. Timeless Film Looks– A step by step tutorial, showcasing proper execution for several popular looks associated with classic motion picture film.
- 8. The Big Budget Look – From sci-fi to action and everything in between, this lesson teaches core grading skills for several popular big screen looks.
- 9. Ultra Stylized– Creative techniques for grading music videos, commercials, art films, and other projects that call for a more aggressive palette.
Polishing
- 10. Black/White Levels– Finding the right shadow/highlight balance, and achieving consistent luminance throughout long form projects.
- 11. Grain & Film Emulation– Best practices for applying film grain and emulation in post, giving digital footage a more analog look.
- 12. Color Uniformity– The final phase, exploring how global settings, LUTs, and other tools should be used in unison to create a cohesive aesthetic.
Price
The course costs $197 which puts it on a par with some other colour grading training courses I’ve reviewed, although definitely on the higher end.
For example, Warren Eagles courses on FXPHD.com are $149-$199 each, whilst DaVinci Resolve training courses on Ripple Training.com are between $39-$79 or on Mixing Light.com for $39-$129.
Obviously comparing on price isn’t an apples-to-apples equation, as even this small selection of courses differ wildly in length, bonuses and core content.
So Noam’s Masterclass is definitely not a cheap course as far as online training goes, but if you’re considering it as a professional investment, and like the kind of looks that Noam creates, then I think it’s good value for the streamlined improvement you should see in your own grading, as a result of taking the course and absorbing the techniques he uses.
You can however save $67 by buying the masterclass bundled with all 3 of Noam’s Cinematic LUT Master Packs, which comes to $397.
My thoughts on Noam Kroll’s Colour Grading Masterclass
Noam’s course delivers a great foundation for anyone looking to learn to creative colour grading in a systematic and practical way.
As someone who feels like they (sort of) know what they’re doing when it comes to colour grading, it was great to hear him so clearly articulate his approach, which obviously takes into account both technical and creative considerations, when crafting a look.
Watching the class from start to finish will also give you a sensible structure for your own colour grading workflow; following an order of operations, establishing your base grade through foundational corrections and matching shots and then working through several different looks which ranged from highly stylised (with some really interesting results!) to more established blockbuster aesthetics.
Whether the course should be called a ‘masterclass’, is fairly arbitrary. To me it’s just a name – it could have been called ‘Creative Looks’, although I’ve seen a few comments else where disparaging the use of the term ‘masterclass’ when they don’t consider Noam to be a colour grading master. In the way Noam has presented the course I don’t think he’s saying he’s a colour grading ‘master’ either. So it’s a pretty arbitrary complaint. As soon as I can pay to see someone like Stephen Nakamura teach a colour grading course, I will.
As an instructor however, Noam is clear, concise and considerate. By that last adjective I mean that he doesn’t gloss over anything that newer colorist might find confusing, which really helps to make the course accessible to all skill levels.
Depending on how you like to learn, Noam’s course might be perfect for you if you already know your way around Resolve a little bit (or even if you don’t), but don’t want an in-depth tour of every new feature and control – which, however Alexis Van Hurkman’s Ripple Training excels at!
Noam makes it clear what each colour grading control he uses does and how it operates, but he’s not calling out shortcuts and other details which might add depth, but also complexity. The focus is on the task at hand, which I really appreciated.
It’s also a rarer opportunity to systematically learn some creative looks from a working colorist, the most recent other example of which I’ve reviewed is Warren Eagles excellent Creative Looks FXPHD course. I would suggest that Warren’s course is geared more towards experienced colorists though.
As an editor who also grades, I definitely picked up some simple but very effective tips and tricks that I can apply to my own projects, which almost never call for a super-stylised look.
More often than not I’m just trying to polish the in-camera image and move it away from a digital-look as much as I can. Add a little grain, smooth out skin tones, make sure everything matches and if possible, make it look a little more filmic.
To that end, Noam’s course is a great place to start.


[…] So when Qazi asked me to take a look at his 30+ hour Freelance Colorist Masterclass (FCM), I was intrigued to see what he had to offer and how it compared to some of the colour grading training I’ve reviewed in the past. (Like, here and also here.) […]