After Effects for Film Editors – Part 1
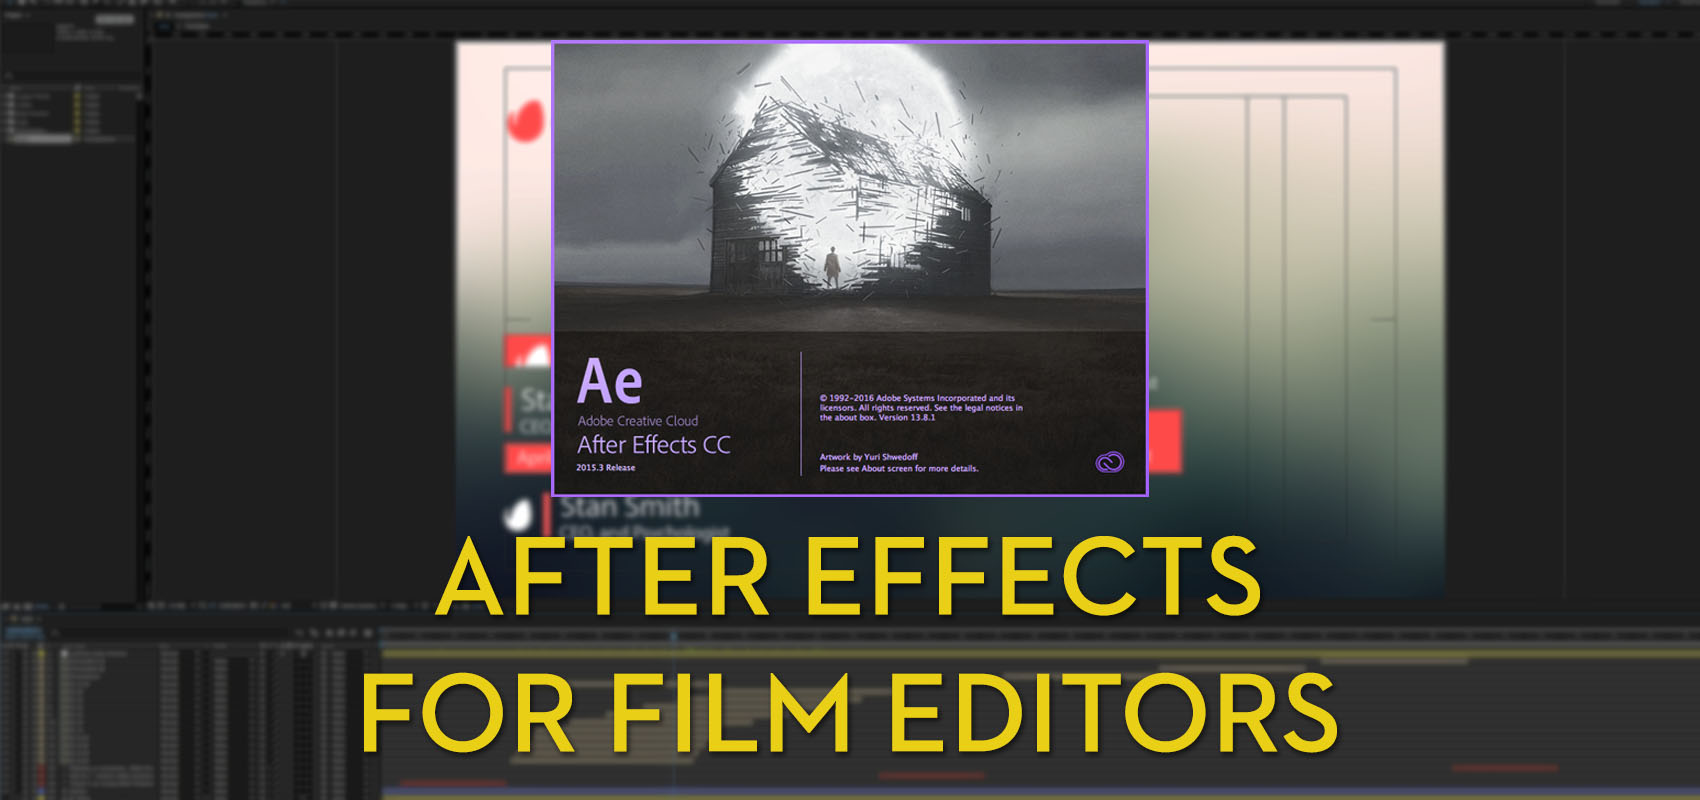
- Learn After Effects to boost your editing career
- Focus on the fundamentals to get the best results possible
- Free After Effects Templates and useful plugins
Learning Adobe After Effects as a film and video editor is a crucial skill to acquire if you want to be able to add a higher level of polish to your projects and greater value to your clients.
As I mention in my ebook on freelancing, “Do you know After Effects?” is usually the second or third question that freelance film editors like me get asked, when being hired. Being able to say a confident ‘yes’, will lead to more work over the years and better paying gigs too.
While some editors have the talent and the skills to double as motion graphics artists, many (like myself!) need to work very hard to achieve a little. But whether you’re an AE master or a novice learning the right principles, techniques and hacks will help you get started and improve the quality of your work.
That’s what this post, and those that follow it, are all about. Focusing on the simple fundamentals you need to know to get the best results possible in After Effects. I’ll be drawing together the principles, techniques, tutorials and work-arounds (e.g. paid and free templates and plugins that let you benefit from other people’s time and abilities) that you need to get the job done.
As a quick aside if you want to take a deeper and more systematic course in mastering After Effects and more complicated techniques in the program then check out this previous post with guides you to some of the best courses on Lynda.com and other sites, or jump directly to Ian Robinson’s After Effects CC 2015 Essentials course.
In this post I’m purposefully going to leave out tutorials on specific tasks (and round up a whole bunch of those in Part 2) and instead lay the ground work by focusing on principles, tips, templates and plugins.
But if you’re totally new to After Effects and just want to know the absolute basics, this short post from Rocketstock.com will set you up nicely, as it covers creating text, using keyframes, adding masks and a bit more.
The importance of Design and Typography Skills
Before we even get to After Effects I think it’s worth stating an obvious fact. The foundation for any well constructed and executed motion graphics are the basic design and layout skills that teach you what to put where, in what size and colour and so on.
Taking the time to learn a few basic principles when it comes to composition, typography and information hierarchy can drastically improve the quality of your work. Here are a few resources I’ve found particularly helpful.
This first video is an excellent and amusing tour of the core concepts within any composition and how they work together in an image. Just one of the many great tutorials from Division05.
One tutorial that I would highly recommend watching is this lynda.com design series from John McWade which walks through some before and after examples of various design scenarios. I really like John’s presentation style and the walk through of the difference simple changes can make is really helpful.
If you want to watch the entire course for free, just sign up for a 10-day free trial here. There are also a ton of further motion graphics tutorials to watch as well.
https://www.youtube.com/watch?v=sBr8XCPIa-0
When creating any kind of simple text and graphics, say for a lower third, end board or inter-title, try to keep in mind these very simple things.
- Information hierarchy – Which is the most important information and how can you signal that through relative size or font weight.
- Readability – How easy is it to quickly get the information out of the content. Is it easy to read?
- Simplicity – What can you take a way to simplify things and still retain a strong and engaging composition?
- Smaller looks more expensive – Young editors seem to make text and logos really big in the frame. Knock them back a bit, they’ll look better smaller.
At it’s very core, try to stick to one font, with different weights (light, regular, bold etc.) rather than different fonts. Also remember that some colours and hues tend not to work very well in video, so for example a super bright red is probably going to bleed a bit.
As a quick tip to newer editors, make sure to view any graphics, lower thirds (name captions), titles etc at 100% in your viewer, or at the scale your audience will see them. If you have your viewer set to 50% you’ll tend to make the graphics bigger, so you can read them, but they will actually be ‘overly large’ for the final audience.
Buy on Amazon.com | Buy on Amazon.co.uk
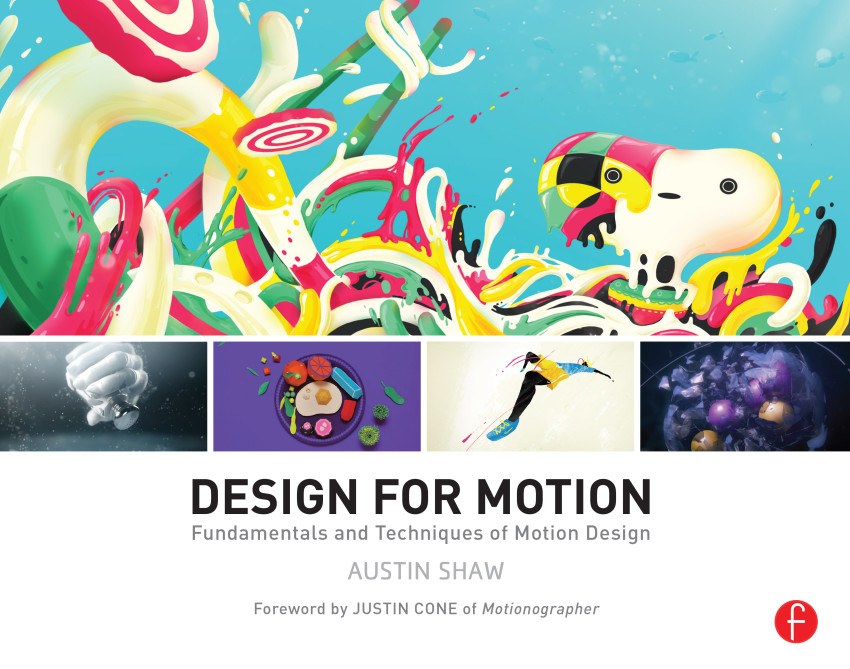
When it comes to textbooks that can give you a leg up on understanding the principles, techniques and creativity that drive the eclectic world of motion design, Austin Shaw’s Design For Motion – Fundamentals and Techniques for Motion Design, looks like the ideal read.
It’s currently on my bookshelf and I will be reviewing it in an up-coming post, but having flicked through it, it reads like a course curriculum on motion design and a who’s-who of contemporary motion graphics talent combined, and you’ll recognise much of the film, TV and online work that peppers the beautifully designed pages.
After Effects Tips For Film Editors
This compilation of ‘simple tricks for better motion graphics’ from editor Derek Lieu is a great starting point for any editor looking to improve their own After Effects work. The video moves pretty quickly, so you’ll want to check out the full breakdown and supporting blog post here, which also points you towards numerous further resources.
The thing I’ve noticed about good motion graphics is that it’s never just putting all the effects together willy nilly. Usually it’s about adding “flaws” whether by making the titles look chipped with a texture or making sure that the motion isn’t too uniform (e.g. animation that eases in/out, bounces etc). Usually when you first start out, the graphics look too “clean” or at worst don’t look like you used After Effects at all.
Conversely, Tobias Gleissenberger provides a packed video filled with simple solutions to common After Effects problems, including creating huge files on export, problems with masks and layers and much more. Sometimes knowing what not to do, is as helpful as learning what to do and Tobias’ tips will save you hours of frustration as a new user!
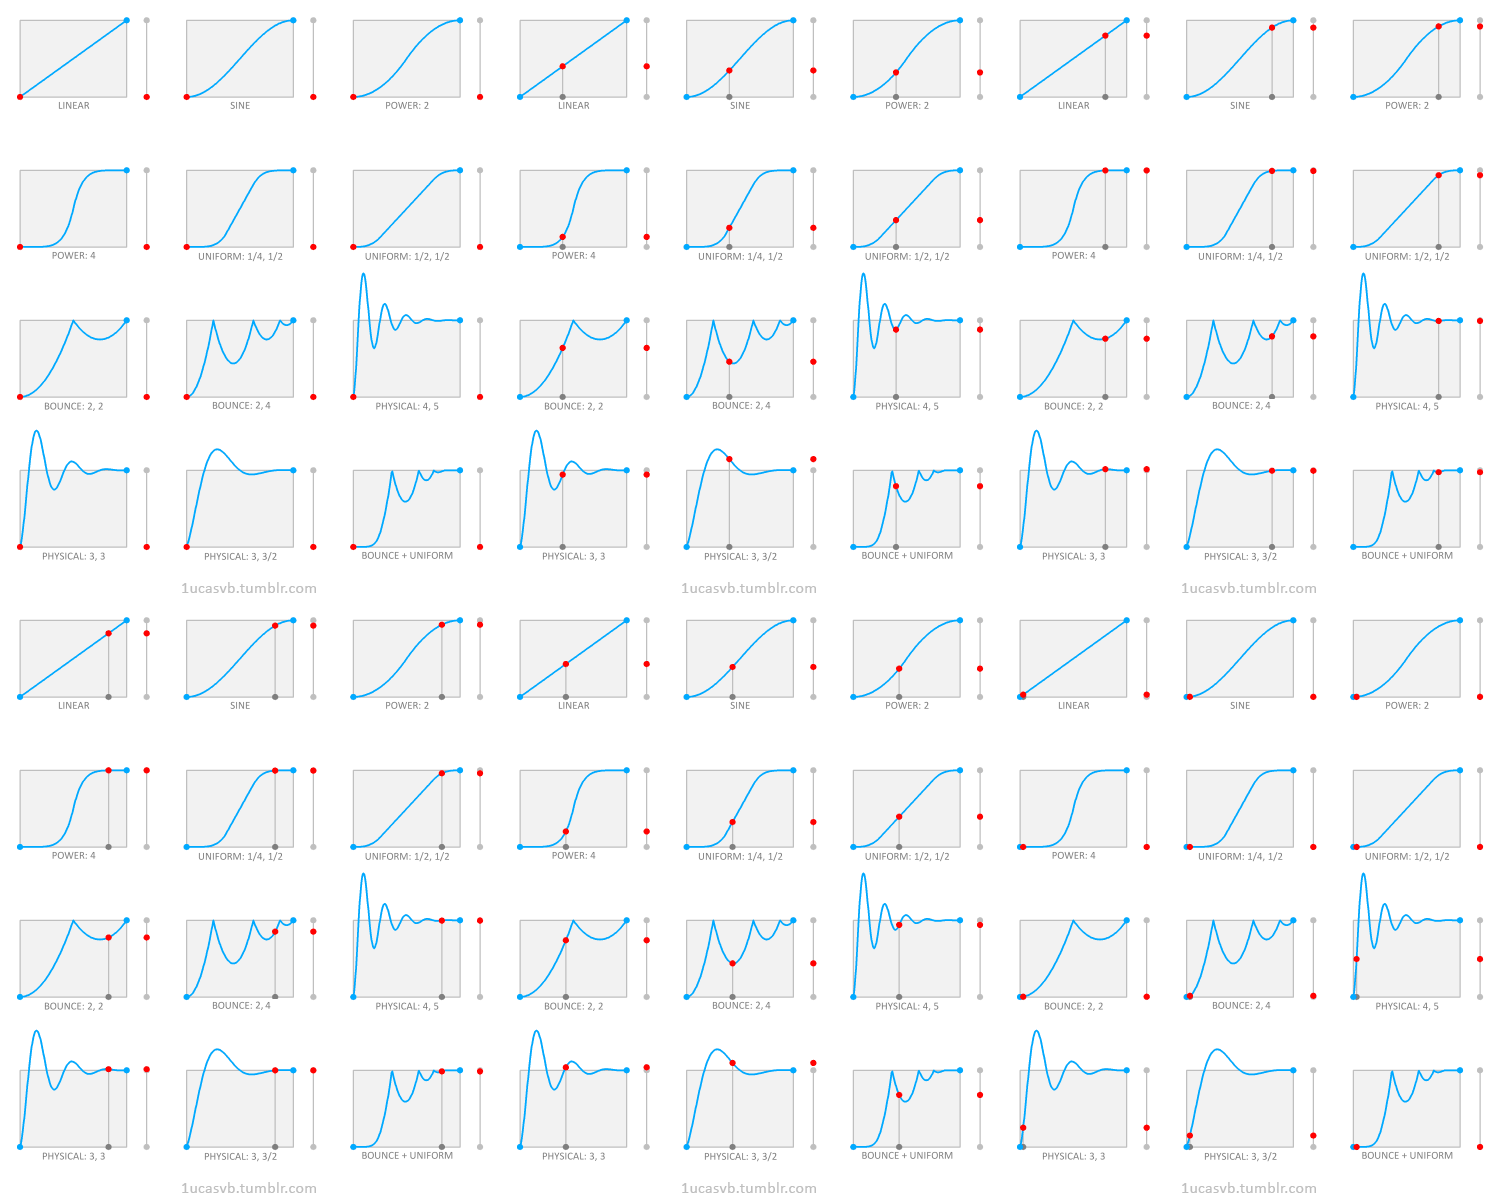
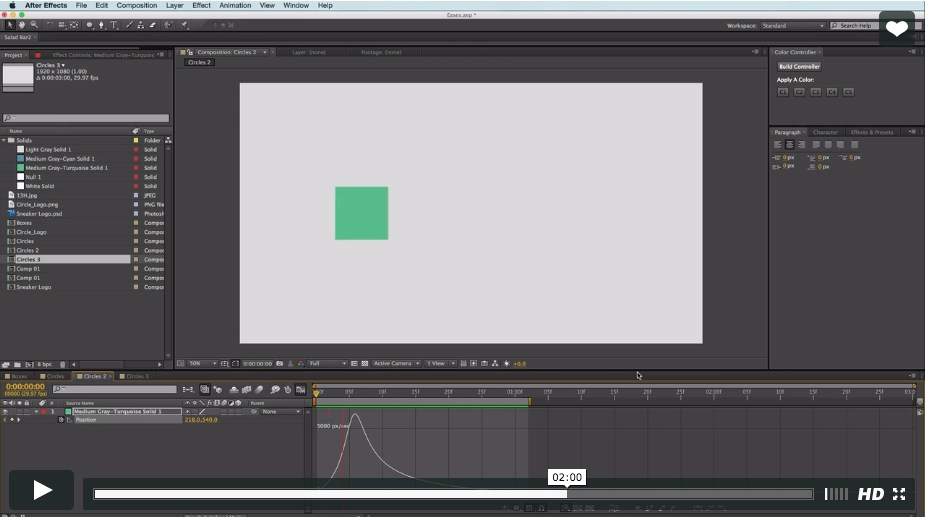
Understanding the way in which the ‘easing’ between two keyframes changes the nature of how your animation will look is a really important principle for creating better looking animations with little extra effort. This complicated looking gif, helps to visually demonstrate the differences in a whole series of easing curves.
This 3 minute video tip on creating better eases in After Effects over on Motion Array, is a must watch for anyone looking to improve all of their motion graphics with one simple trick. Due to their privacy settings I can’t embed the video here, so jump over, watch it and come back!
It’s a great introduction to the concept of easing, working with keyframes and using the graph editor to improve the quality of your animations. Little things make a big difference.
For a more detailed look at easing, keyframe interpolation and the graph editor check out Evan Abrams brilliant breakdown in this 20 minute tutorial.
The most used easing tool for After Effects is Ian Haigh’s free script called Ease and Wizz.
Ease and Wizz is a set of expressions for After Effects that give you more ways to interpolate between values. The obvious use is in motion, but they can be used on animated properties of any kind. They’re applied with an After Effects-ish palette that can be docked, so it’s very easy to use.
In this 12 minute tutorial you get a full walk through, from Ian, on how to use Ease and Wizz in your After Effects animations.
Free After Effects Templates for Video Editors
https://vimeo.com/121469663
Type ‘Free After Effects Templates’ into Google and you’ll get 45 million results in under half a second. Some of these sites range from the spectacular to the spectacularly bad.
In this section of the post I thought I’d draw together some of the sites that provide high quality freebies that are worth a rummage.
Whilst on the topic of After Effects templates, it might be helpful to check out this post I wrote over on Premiumbeat.com, on How to break down a Professional After Effects template, to see just how much you can learn from someone else’s hard work.
[The Shy Guy Icon] reveals everything that’s going on to make this lower third function. Another useful keyboard shortcut to use is ‘U’ which reveals all of the animated parameters in a selected layer. Even more helpfully a quick double tap of ‘UU’ will reveal all animated layers in the entire composition.
You can also pick up some tips on selecting fonts, changing the frame rate of an entire After Effects project and more!
Even as a writer for Premiumbeat.com I hadn’t realised just how many freebies they had curated and or created, to share online. If you check out the freebies category on the blog, you’ll find 120 posts each with something ‘free’ in them including light leaks, animation assets, LUTS, production documents and a whole lot more.
https://vimeo.com/151584693
Here are a few of my favourite After Effect’s finds, when keeping a video editor in mind.
- 9 Free After Effects Templates – Selected from Rocketstock.com, I would recommend downloading the free Circle Bursts animations, which are super easy to use and add a little zing to your animations in a jiffy.
- 10 Free Typography Templates – Typo-matic is particularly worth grabbing.
- On Screen Text Message Template – A free After Effects template from Rocketstock with 5 styles of text message.
- 20 Free Animated Icons – These are pre-rendered footage, so you can also use them in your NLE too, but the After Effects project file is also included.
- 329 Free Action VFX Elements – Download free smoke, muzzle flashes, explosions and other VFX elements in this round up.
- Anamorphic Lens Distortion Preset – Created by editor Vashi Nedomansky to give a 40mm Primo lens look.
- 3 Free Logo Reveals – Circles, Triangles and Rectangles reveal a logo with ease from Premiumbeat
Another great source of freebies is Rocketstock.com, with a new one added every month – so sign up to never miss a gift! Although many of these freebies are in the first Premiumbeat post in the list above, more have been subsequently added including this versatile pack of 35 pre-animated shapes.
In and of themselves the shapes are purposefully ‘vanilla’ but you can get some inspiration as to how to put them to good use in this short demo video. Adding glow, gradients, depth and blur are all good motion graphics techniques.
Other sites worth rummaging in, include Motion Array, with some useful free After Effects templates. The Live Text Lower Thirds is particularly handy for corporate jobs. They have also started giving away Premiere Pro presets and effects. You will have to sign up (for free) to get the free downloads. Motion Array also have tons of great tutorials for Premiere and After Effects.
https://www.youtube.com/watch?v=aewHXbR1v1s
Another site worth signing up to, to get a monthly freebie is VideoHive.net, part of the Envato Market. This month’s freebie is a professional Lower Thirds pack. In their marketplace they have over 35,000 After Effects templates to choose from!
Motionstacks.com also has a really nice collection of freebies, with some nice looking titles and lower thirds.
This obviously is not an exhaustive list and as I mentioned at the beginning of this section, there are millions of freebies out there, so make the most of them!
Useful After Effects Plugins for Film Editors
When it comes to third party plugins for After Effects there are a myriad of options to choose from. Here are a handful of simple, but effective plugins that can help you quickly get decent looking results. In future posts in this After Effects for Editor series I may well take a closer look at each of these plugins.
- Red Giant Universe 2.0
- Mister Horse Animation Composer (free)
- Yanobox Nodes 2
- Fayteq Fayin
- Adobe Character Animator
Red Giant Universe 2.0
Red Giant’s Universe 2.0, which is a suite of over 60 GPU accelerated plugins, effects and presets. With a toolkit this large the tools are only as useful to the degree that you know what to do with them.
Check out the video above to see what’s new. It’s worth noting that some of the tools can be used in Premiere Pro as well as After Effects.
Check out the complete list of tools here, but the following are a few of my video editor favourites, along with tutorials on how to get started with each one.
- HUD Components – Create cool looking user interfaces with ease. Check out this post for some Hollywood feature film inspiration too!
- Logo Motion – Super easy to use logo intro and outro animations in Premiere Pro.
- Camera Shake – Add camera shake to shots to increase the sense of energy.
- Knoll Light Factory EZ – “over 80 beautiful, accurate light and lens aberration presets.” Lens flare presets that emulate real lenses.
- Universe Line – Create those Indiana Jones flight path map shots with ease.
If you are cutting a lot of promos, music videos and ‘jazzy’ online content then the chromatic glow, glitch, VHS, glow-fi, glimmer, chromatic aberration, RGB separation and other effects will definitely come in handy.
https://www.youtube.com/watch?v=jZFuNA3L7U8
This tutorial for the HUD components plugin does a good job of demonstrating that some parts of the process are really new-user-friendly, like the visual presets browser, whilst others (a long list of parameters with complex uses and interactions) will take a little bit of learning to master.
Fortunately there are dedicated tutorials for pretty much each and every tool in the Universe 2.0 kit, in this YouTube playlist.
At $99 for a year’s subscription, or $20 a month, its a great value addition to any editor’s toolkit. When you consider that updates are included (as you’d expect in a subscription) you’ll benefit for updates and new releases too.
As with any of Red Giants products you can download a free trial to check it out for yourself, and if you’re a student make use of the 50% academic discount!
Mister Horse Animation Composer 2
If you’ haven’t already downloaded Mister Horse’s Animation Composer then you are missing out on a hugely effective time-saving tool.
Recently updated to version 2.0, Animation Composer is a set of drag and drop transitions, effects and pre-comp (pre-animated) royalty-free assets that you can use in your editing and animation projects.
The plugin itself is free and ships with 100 free transitions, effects and pre-comp items, but where Animation Composer really hits it’s stride is the online store that gives you in-app access to thousands of additional elements.
These are available in packs that range in price from $19 to $99, but are a far more affordable way to acquire the assets than an individual purchase price of $6. Although this does give you the option of grabbing what you need when you need it. A pack like this Outlined Style Animated Illustrations, which includes 346 individual elements for $99. (If you bought them all separately it would cost you $2076!)
Having a tool like this up your sleeve would make it incredible easy to bash out corporate explainer animations in a few hours rather than days. To get started, download Animation Composer for free and check out the extensive range of short video tutorials covering pretty much every customisable parameter.
Yanobox Nodes 2
If there is one plugin that can give you stunning results with relatively little effort, then it’s Nodes 2 from Yanobox. Accessed through the FX Factory online store, you can use it in After Effects, Premiere Pro, FCPX and Motion. The plugin lets you to create beautiful looking 3D animations based on 100 presets that you can customise with text, particles and lines.
The plugin has been used on lots of Hollywood blockbuster’s including Ender’s Game, The Avengers, Rise of The Planet of The Apes and many more by freelance VFX artist Jayse Hansen. The FX Factory site has some cool case studies of his work on these films (click on the poster images).
If you’re not working on such high level sci-fi features as Jayse then you can still leverage Nodes 2 for that corporate video that needs a bit of visual interest. In this After Effects demo you get a good idea of how to get up and running with the plugin with an animated world map example.
Of all the plugins featured in this list, Nodes 2 is probably the most complex to use, but that complexity is part of what drives it’s fantastic results. It’s also the most expensive at $299, but you can of course download a free trial to test it out.
FX Factory also has a vast range of After Effects (and NLE) based plugins, so the whole site is well worth a rummage.
Fayteq Fayin 2.3
https://www.youtube.com/watch?v=qEFU4THxSy4
One of the most common things editors are likely to be doing in After Effects, other than creating lower thirds and animating logos) is inserting ‘stuff’ into footage. That might be logos, text, 3D objects or whatever. You can do this in After Effects (tutorials on this kind of thing in Part 2) but the Fayin plugin from Fayteq seeks to simplify the entire process down to a few clicks.
For a better re-world demonstration of how the plugin works, render times and why the technology is doing far more than a regular planar tracker watch this short demo recorded by Scott Simmons from ProVideoCoalition at NAB 2016. It’s really interesting to note how easy it is to move the text off of the wall and into 3D space in a few clicks, although it seems like GPU acceleration would be beneficial to speed up render times.
https://www.youtube.com/watch?v=3bWDrmGRhFk&list=PLokW06NhBlDO-JyFa0G9ezPw9iSTStJ77
If you like the look of the plugin you can watch a 12 part series of tutorials in this Fayteq YouTube playlist, which covers all of the basics and few advanced situations like handling occlusion – one object hidden by another.
The pricing structure is a little different to what you might expect and effectively boils down to either a one time purchase (with no upgrades) at €300 (about £260/$335) or a 6 month, 12 month or 2 year rental. This isn’t a subscription and you have to pay the whole amount, for the duration you choose, up front.
The 6 month rental is €95/$117/£82. The best thing to do though is take the 14 day free trial and see if it provides a significant boost to your workflow.
Adobe Character Animator
Lastly, a plugin that isn’t a plugin at all. If you suddenly need to whip up an animation, packed with dialogue between a few characters, why not check out Adobe’s newest app, Character Animator. It’s still in development but the results make it look like it could be exceptionally useful in certain scenarios.
Working animators might not approve of the process, and of course there’s no real comparison to hand woven animation, but for an editor looking to dip their toes into creating cartoons, this could be a fun option.
Check out these tutorials from Character Animator team designer Dave Werner for more tips and tricks, plus some free downloads of pre-built characters.



Good timing and thanks, just what I have been looking for!
Glad you found it useful Sam!