DPX Workflow
Sometimes if you are finishing your project in a professional colour grading suite, or sending plates to a vfx house they prefer to have dpx files to work from. To create these deliverables from an FCP centric workflow follow these simple steps. This post has been written up with content from this creativecow thread.
– In FCP select your sequence and press File > ‘Send to Color’.
– Color will open with your sequence on the timeline as it was in FCP.
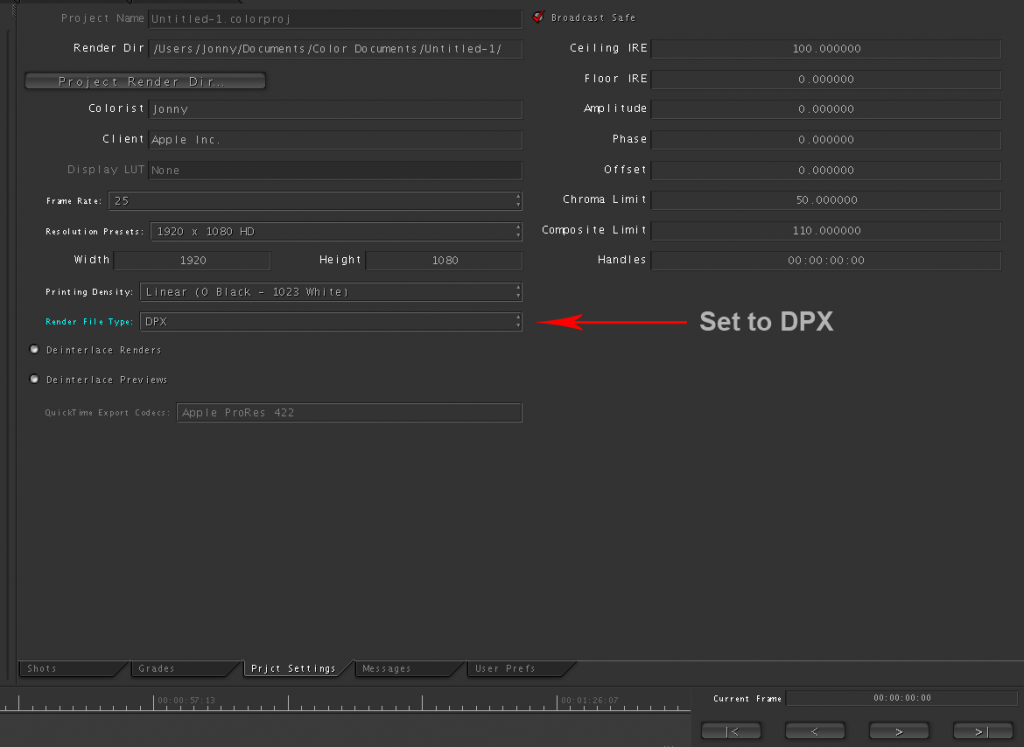
– In Color’s Setup Room, in the Project Settings tab, set the Render File Type: DPX
– Check that your renders settings are going to the correct directory.
– In the Render Queue Room, select ‘Add all’ to add all your clips to the render queue and then press ‘Start Render’.
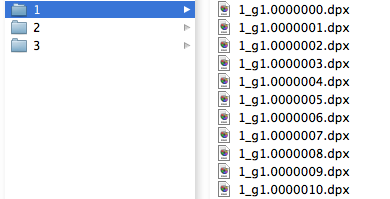
– When the render is complete all of your clips will be outputted as DPX image sequences with a separate folder per clip.
DPX colour shift workaround…
Some people have found that DPX files created by by Color, especially when coming from RED or Pro Res, can color shift and sometimes even not work in Nuke or Flame. Furthermore Color can display DPX and Tiff files incorrectly with an increased gamma.
To correct this problem Michael Cinquin, who makes some very useful free tools, has created a LUT to correct the gamma shift inside of color that you can download here.
Michael also has a handy tool to rename your DPX files based on the timecode of the shot and one to create black DPX frames to fill gaps where there is an empty space on the timeline.
An alternative work around is to create Cineon files with exactly the same workflow as previously described but to select Cineon files in the Render File Type drop down menu inside Color (as seen in the first image above).
Creativecow also have a very detailed article about working with Cineon files.


