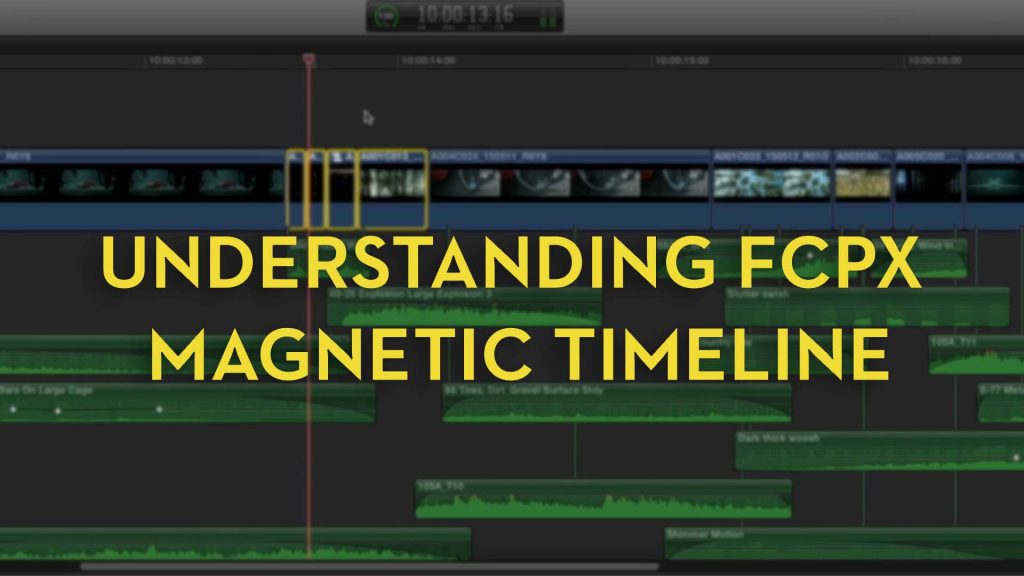
Understanding the FCPX Magnetic Timeline
The magnetic timeline with FCPX is the source of much of it’s power and much of the love it or hate it reaction from editors used to a different way of doing things. In this post I thought I’d round up some of the best tips, tricks and tutorials centred around the magnetic timeline and the different way FCPX does things to help reveal what’s possible.
If you’re new to FCPX or want to learn it for the first time you might want to check out this previous post on a Beginners Guide to FCPX. If you’re more of an old-hand at FCPX you might want to check out this previous post chock full of FCPX Tips and Tricks.
Before we go much further it makes sense to translate a bit of FCPX terminology:
Library = Project | Event = Bin | Project = Sequence | Primary Storyline = Track 1 | Secondary Storyline = Other Tracks/Group of Clips | Roles = Tracks if you had stayed organised* | Compound Clips = Nested Group of Clips |
In FCPX the Storylines, Roles, Clip Connections and Compound Clips all make up part of the nimble timeline functionality, so I’ll try to include tutorials explaining how these best work, as we go. But simply reading through the Apple FCPX Glossary will provide you with a decent foundation.
*OK so Roles are actually far more than this and are a way to tag clips with metadata that allows you to ‘group’ them by their role, and then do things to every clip in that role-grouping, without them all having to be in the same track like in other NLEs.
UPDATE: Turning off the Magnetic Timeline
Editor and trainer Ben Halsall, demonstrates how to disable the magnetic when editing and deleting clips to help you take control of FCPX’s timeline’s main storyline and connected clips. I actually really like Ben’s ‘weatherman’ style presentation approach!
In these four short tutorials London based FCPX editor Thomas Grove Carter demonstrates some of the incredibly useful ways the FCPX timeline can work in your favour. This first video demonstrates how useful being able to edit in the timeline is, whilst playback continues for the other people in the edit suite. You can do something like this in Premiere, but not as smoothly.
In this tutorial you can see how beneficial well placed clip connections can be when moving large groups of sound effects around on the magnetic timeline.
These last two tutorials aren’t strictly about the FCPX magnetic timeline but they’re just too good not to share. The video above demonstrates how you can use FCPX’s range and favouriting tools to more easily manage pulling selects and organising your footage. The tutorial below provides a useful insight for any editor who is often re-timing shots – possibly the domain of music video, promo and commercial’s editors more than anyone – by creating shortcuts to preset speed ramps and re-times.
FCPX Magnetic Timeline Tutorials

Not Fighting The Magnetic Timeline – Part One | Part Two | Part Three
FCPX expert Charlie Austin has also put together a really helpful three part blog post series, explaining how things work in the FCPX timeline for anyone who is coming from a track-based editing experience, which is basically everyone who has not used FCPX! In part one Charlie describes a way to make the magnetic timeline function much more like a track-based timeline.
Probably the best way to get acclimated to [the magnetic timeline] is to put a chunk of Gap (slug) into the Primary Storyline and just cut with connected clips. Then it pretty much behaves like what you’re used to. And by “pretty much”, I mean you can grab or lasso clips, drag ’em around etc, and they all stay put relative to the sequence time. You can use transitions as well, FCP X will automatically create secondary storylines as needed when you apply them.

In the second part of the series Charlie takes a closer look at setting up and using Roles to keep your work organised in FCPX. He also covers working with split-channel audio, keyboard shortcuts and more.
Roles take on the majority of the organisational functions of tracks in other NLE’s. If you don’t set your Roles properly, your Project will quickly become an unmanageable nightmare. This is especially true for audio, as there is generally much more of it in the timeline. In fact, pretty much everything in this post pertains to audio, though what I’ll talk about is generally true of video as well.
The third part of the series provides some deeper insights and handy keyboard shortcuts for working with the Primary storyline.
This 10 minute tutorial from Larry Jordan’s free FCPX 10.1 training covers a lot of the basics for anyone learning the FCPX timeline for the first time. At about 4.30 min in, Larry gets into moving clips around with the Magnetic Timeline turned on, and how to use the position tool to effectively turn it off.
Michael Garber shares a simple tip that demonstrates why you may well want to create your music edits in a secondary storyline.
In this MacBreak Studio episode with Mark Spencer and Steve Martin, you can gain plenty of useful insights on working with secondary storylines to move building blocks of your project around in simple ways. If you like their style you should check out their FCPX training over on RippleTraining.com.
Basics: Create Secondary Storyline CMD+G. Compound Clip is Option+G
In this MacBreak Studio you can learn how to move things around in the FCPX timeline like you used to in FCP7. One of the things they mention in this tutorial is the timeline index, which they go into more detail on, in the tutorial below.
UPDATE: Premiere Vs FCPX
Charlie Austin (again!) has some interesting tutorials comparing the idea of the Pancake Timeline in Premiere Pro with what’s possible in FCPX. In the second tutorial (below) he provides a comparison of using a sequence as a source – nesting in Premiere Vs compound clips in FCPX. As a (mostly) Premiere editor myself, it’s interesting viewing.
Hacking Connection Points in FCPX
Basics: You can move a connection point with CMD+Option+Click.
In these tutorials, again from Charlie Austin, you can learn how to mess with connection points and clip containers in useful ways, for example in the tutorial above you can learn how use connection points to accurately ‘spot’ your sound effects. These tutorials demonstrate just how ‘out of the box’ Charlie tends to think.
In this MacBreak Studio episode the boys talk through some more complex connected clip tricks.
Benjamin Halsall shares a nice quick tip, which is sort of to do with connection points, when you want to apply a transition to a text layer without it affecting the video underneath. Ben has a HUGE number of tutorials for various creative apps on his Youtube Channel.
Working with Compound Clips in FCPX
To understand the real basics of compounds clips, this tutorial from Ben Consoli, over on Premiumbeat.com, will walk you through a couple of real world examples. Noam Kroll has written up a good introduction to compound clips, again over on Premiumbeat.com, which also includes the suggestion of using compound clips for each ‘reel’ of a feature project.
You can also check out the FCPX help manual for Compound Clips here too.
In this MacBreak Studio episode you can learn how to work around some of the ‘limitations’ of compound clips, which actually gives you a really good understanding of how they work in some detail.
In another tutorial from Premiumbeat.com, Chris Fenwick demonstrates how to use compound clips to quickly replace your edited temp music tracks with the final versions.
In this quick tip Charlie Austin shows you how to match frame into a compound clip.
Using Roles in FCPX
For a systematic introduction to using roles and sub-roles within FCPX you can’t do much better than Larry Jordan, who also demonstrates the efficiency of using roles for different language version of titles in a single project.
If you need any further convincing on the power of roles vs tracks then this lengthy post from Paul David Murray has got you covered.
#FCPX Roles R SUPER important 4 many reasons. Always apply to newly imported clips & put a scheme together 4 Subroles pic.twitter.com/rFcqOQ6G42
— Mike Matzdorff (@FCPxFeatures) April 24, 2015
In this tweet Mike Matzdorff, assistant editor on Focus, itemises his collection of roles and subroles when working on a feature film. A great starting point for anyone looking to stay organised.
In this tutorial from the Ripple Training boys, you can get a good intro to work with roles and then more specifically sub-roles in FCPX. You also learn a crucial difference between enabling/disabling roles and actually exporting those roles.
In this MacBreak Studio episode you can use Roles to select your clips, and why you might want to create a ‘skip’ role for assigning to clips that don’t have audio but FCPX assigns to ‘dialogue’ by default. The boys get pretty excited about these cool tips.
In this older tutorial T. Payton demonstrates how to use Roles to create a universal ‘Turn off Effects’ toggle in FCPX. It’s a little bit of a clunky workflow, but the ability to set a role for versions of shots and then turn them off throughout your project might be really handy.
If you’re interested in taking your use of Roles a bit further you should check out Charlie Austin’s free Role-o-Matic in this previous post, and his blog post on how Roles can speed up your Versioning workflow when you need to deliver lots of different version of sequences in an efficient manner.