After Effects for Film Editors – Cinema 4D Part 2
In this continuing series of posts on After Effects for Film Editors, this post, part 5 is a game of two halves.
In the second half my animator brother returns to share some of the best tutorial sites for those of you looking to take your skills in Cinema 4D Lite or Studio a bit further. Just as a reminder, every version of After Effects in Adobe’s Creative Cloud comes with the free Lite version of Cinema 4D included.
In the first half I’ve brought together a collection of tutorials specifically focused on compositing in After Effects. Although this is a pretty broad term that could encapsulate “stuff you can do in After Effects”, I’ve tried to centre them around shot fixes that might help sell story fixes, in editorial.
But first a walking chilli dog.

If you missed the previous instalments of this series check them out here:
- After Effects for Editors – Part 1
- After Effects for Editors – Part 2 – Tutorials
- After Effects for Editors – Part 3 – The Cinema 4D Edition
- After Effects for Editors – Part 4 – Useful Things
After Effects Compositing Tutorials for Film Editors
Learning how to do things that will either fix your shot or fix your story are critical for film editors looking to get this done effectively in After Effects. Hopefully this round up of tutorials might help you do both!
I shared some other great tutorials on sky replacement in After Effects for Film Editors Part 2, but I liked that this tutorial worked on several aspects of the shot, incorporating new elements to really knit everything together.
In this follow up tutorial you get a decent demonstration of how to create a believable day for night grade and composite. In this tutorial he makes use of Video CoPilot’s free Day for Night preset, which helps get your grade started.
Speaking of Video CoPilot, this incredibly convincing rain effect tutorial is one of Andrew’s most recent demonstrations of his mastery of After Effects. If you needed to fix a shot by adding a rain effect, say to connect two scenes that don’t have matching weather, this might save the day!
It’s all 100% created in native After Effects with no third party plugins, and you can download Andrew’s project file here.
I found these three following tutorials in this Rocketstock.com round up of the ambitiously named, ’21 of the best After Effects tutorials.’
Aside from adding text and video layers to a moving shot (above) you can also create these simple ‘text reveals’ from behind an object (below) with a bit of nifty rotoscoping.

Another useful ‘fixing’ technique is this step by step guide to replacing sunglasses reflections from Lewis McGregor over on Rocketstock.com.
It’s nice that Lewis demonstrates how to not only composite the new reflections in place, but how to knit them more seamlessly into the shot with suitable distortions and fall off.
More Advanced Compositing Tutorials in After Effects
The final @AdobeAE setup for four muzzle flash comps of varying complexity. pic.twitter.com/T3B6ha7fTF
— Stu Maschwitz (@5tu) June 29, 2017
In this section of the post I’ve gathered together a few more tutorials that repeat some of the same rotoscoping and compositing process used in the tutorials above, but take them up a gear.
The beauty of After Effects is that you can do pretty much anything with the same simple tools, but the level of finesse and complexity you can deliver increases as you deepen your skill set.
In this tutorial from Tobias of Surfaced Studio you can learn a good few tips on advanced masking, and solving some of the most common problems users face with masks.
Tobias covers animation and interpolation and using multiple masks.
In this second tutorial from Tobias you can pick up some useful advanced rotoscoping tips, which are handy to know when facing more complex composites.
In this final rotoscoping tutorial Mathias from Mamoworld, demonstrates how to rotoscope an object that has heavy motion blur on it, making the masking more difficult.
This is actually part two of a three part tutorial series, so jump over to Mamoworld for the other parts.
In this two part tutorial series Stark from FilmRiot walks through how to use channels to create multi-pass composites.
If this is kind of workflow is new to you then it’s well worth sticking with this slightly rambling walk through in both parts to come away with a decent understanding of how this works in practice.
In the second part of the series, Stark moves from him set up composite to adjusting the passes independently as well as adding a few other bits of polish like lens flares and more to demonstrate what is possible with this kind of prepared workflow.
The Best Sites for Cinema 4D Tutorials
[Ed. As my brother Chris Elwyn is a professional animator and owns and uses the full Studio version of Cinema 4D, I’ve got him back to talk a little bit more about it. The rest of this post is from him.]Hopefully you’ve been enjoying messing around with Cinema 4D since the last time we posted about it.
In this post I want to draw your attention to three great resources available online to help you get the most out of the package, and at the end we’ve included a callout to a website that offers a wide range of training to look at as you get more advanced, or if you want to look into some of the myriad of plugins available for Cinema 4D.
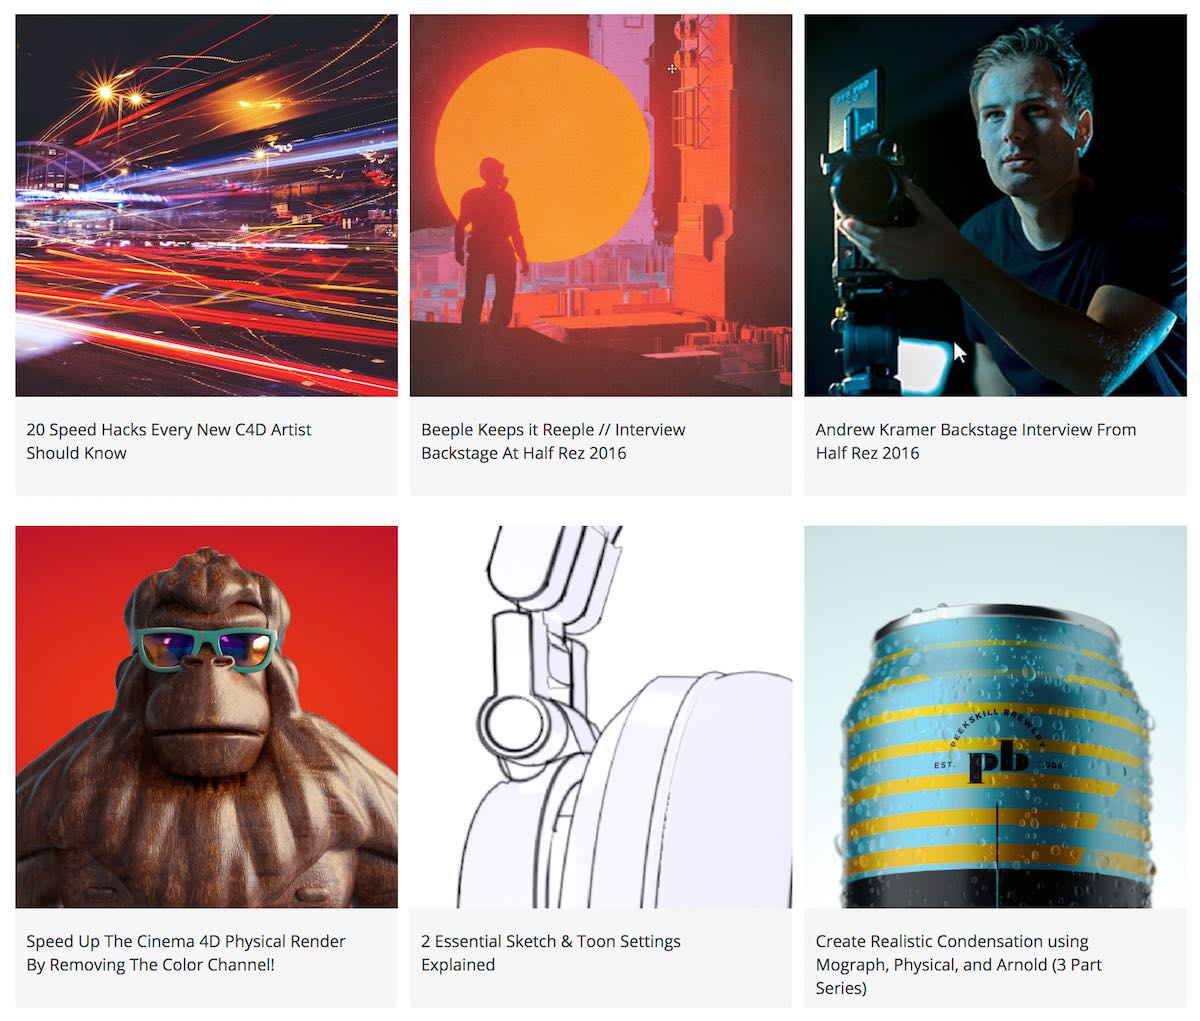
First up is Greyscale Gorilla and it’s familiar roster of presenters.
Chances are if you’ve been googling tutorials for Cinema 4D you’ll have discovered these guys already but if not, it’s a pleasure to bring them to your attention. Nick, Chad and Chris have a huge variety of tutorials and content that you can devour at your leisure.
Most of the tutorials are aimed at people with the more complete versions of C4D such as Studio or Broadcast rather than Lite (have a read over our previous article if you’ve no idea what I’m talking about) but there’s still useful information to be gleaned from the tutorials even if you only have the version of Cinema 4D that comes with After Effects these days.
Here is a link to all of their Cinema 4D Lite tutorials.
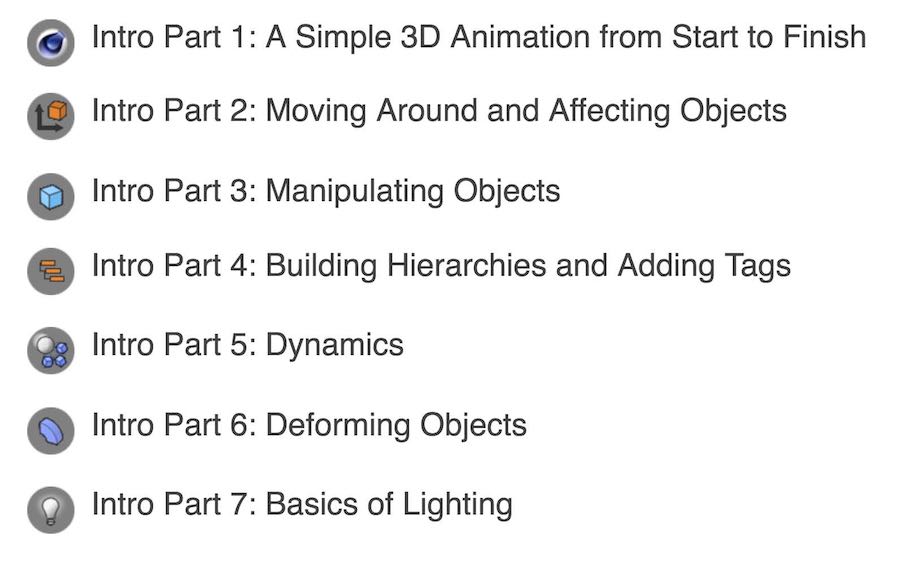
Greyscale Gorilla – 18 part free tutorial series
Here’s a link to their Getting Started with Cinema 4D content – a great way to brush up or just dive in to the software for the first time.
Greyscale Gorilla also has a wide variety of custom tools available for purchase that can help extend Cinema 4D’s capabilities or streamline certain workflows – I can personally recommend their HDRI Studio Link which makes swapping in and out different HDRI setups incredibly easy.
This is great when you’re working with a lighting setup based on using an HDRI and you want to experiment with different looks.
Check out their HDRI Link videos for more.
From Greyscale Gorilla we move to EJ Hassenfratz of Eyedesyn.com.
EJ’s a regular contributor to Greyscale Gorilla with a lot of content that’s shared between both sites, but I wanted to highlight his tutorials on working with C4D Lite and being able to create different looks (or at least approximate them) that would normally require you to have the more complete versions of Cinema 4D.
Here’s an example, a series of tutorials from 2016 about creating a cel-shaded look inside Cinema 4D Lite and AE, something that would usually require access to Sketch & Toon, part of the Visualise and Studio versions of Cinema 4D.
From EJ to a YouTuber who has produced a lot of great tutorial content for Cinema 4D and After Effects, Matt Jylkka of Mt Mograph.
He has a wide variety of tutorial content that covers After Effects and Cinema 4D, as well as some custom tools for sale on his website.
If you’re thinking of adding animation to your workflow or just interested in doing stuff in your spare time, his Summit series is well worth checking out. They cover both Cinema 4D and After Effects, and are great to watch to help develop your skills and give you ideas to experiment with for yourself.
Here’s an example from a while back – creating a papercraft look in Cinema 4D
The last stop on our whistle stop tour of great Cinema 4D content is HelloLuxx – this website features a huge amount of content from great teachers across a wide variety of topics.
Some of their content is free, some is paid content (which I’ve found to be well worth the price) but I particularly want to highlight their material on XParticles (an excellent third party particle plugin for Cinema 4D) and different third party renderers such as their tutorials on Arnold, Octane, Maxwell and VRay.
These plugins are a great way to extend the capabilities of Cinema 4D and give you new tools to play with (though I would be careful to check compatibility on them before purchasing – I only have experience using them with the full Studio version of Cinema 4D).
HelloLuxx’s tutorials are excellent, well-paced and the instruction is first rate.
Share Your Favourite Cinema 4D and After Effects Tutorials
If you’ve enjoyed other tutorials for Cinema 4D and After Effects that you feel should be included in this list, just hit the comments below to let us know!